Editor’s note: For authentic coaching critiques, some photos in this series depict the muzzle pointing either near the reader or toward the shooter in an adjacent frame. All photos were posed in a studio with an unloaded air gun.
Maximizing the body’s ability to remain stable in the shooting position throughout an entire course-of-fire requires not only physical training, but also an understanding of what makes a good position and how to assume that correct position repeatedly. While there is no cookie-cutter position that fits every shooter, there are some biomechanical principles to which the shooter and coach should adhere. There are also some common sense ideas that can help the shooter attain their goals. This article will help the coach and shooters understand today’s standing position technique.
Warm-up Holding Exercises
General warm-up exercises are great. A brisk walk with stretching is a perfect way to get rid of the cobwebs in the morning before the match. At the training or competition venue, holding exercises without the jacket for five to 10 minutes before or during preparation time with a focus on holding as still as possible helps activate the fine muscle control needed for your best performance. When you finally put on the jacket, your hold will feel much better.
Mounting Sequence—Front (Seldom seen by the Coach)
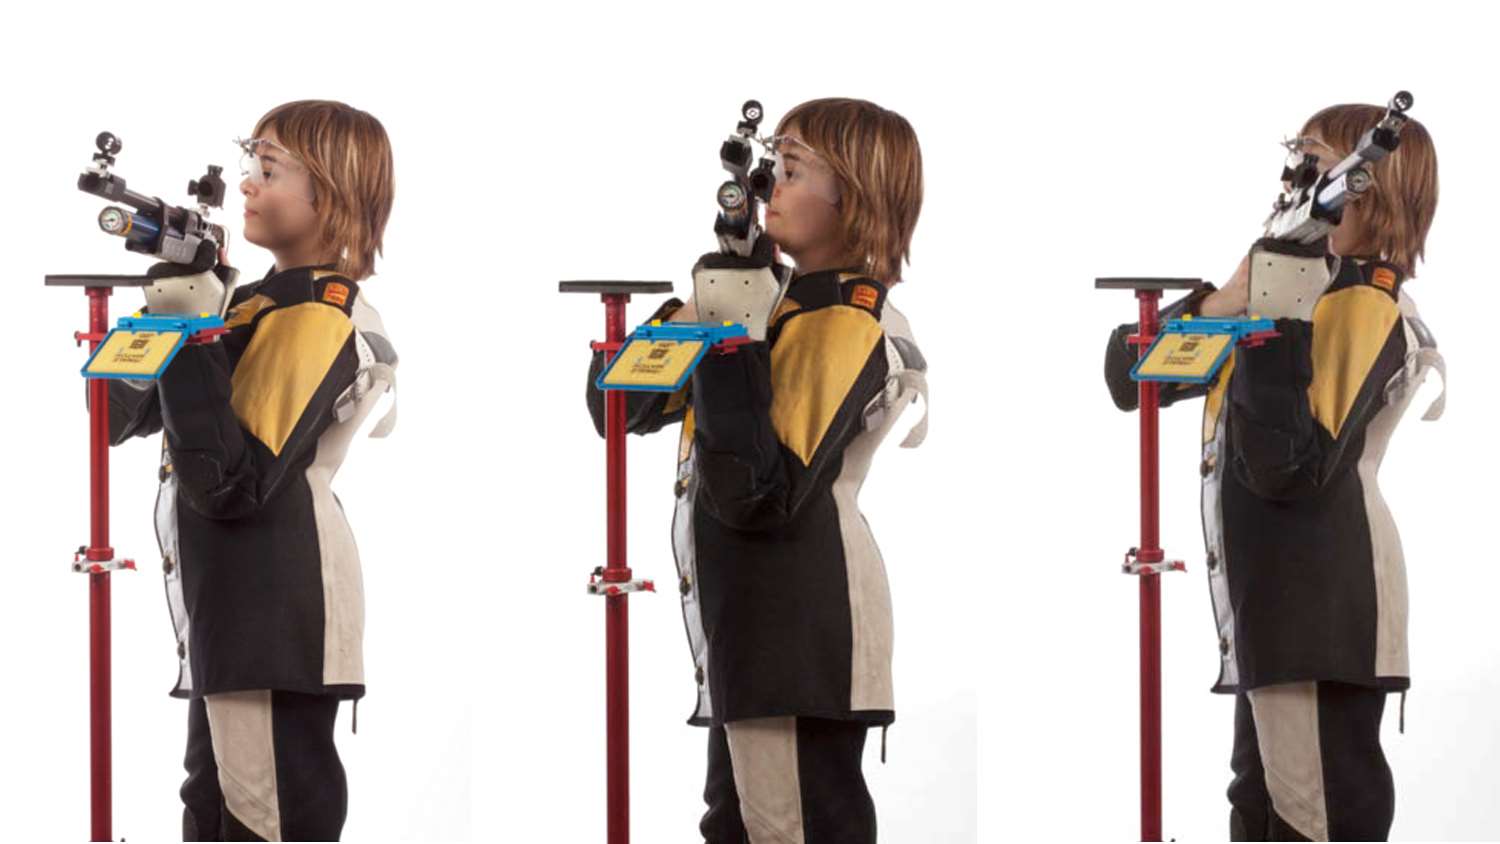
Rifle and pistol shooting is often considered a static sport because the shooter is in the same position for multiple shots over the course-of-fire (see figures 1 and 2). In fact, there is a great deal of movement going on during loading and mounting the rifle.
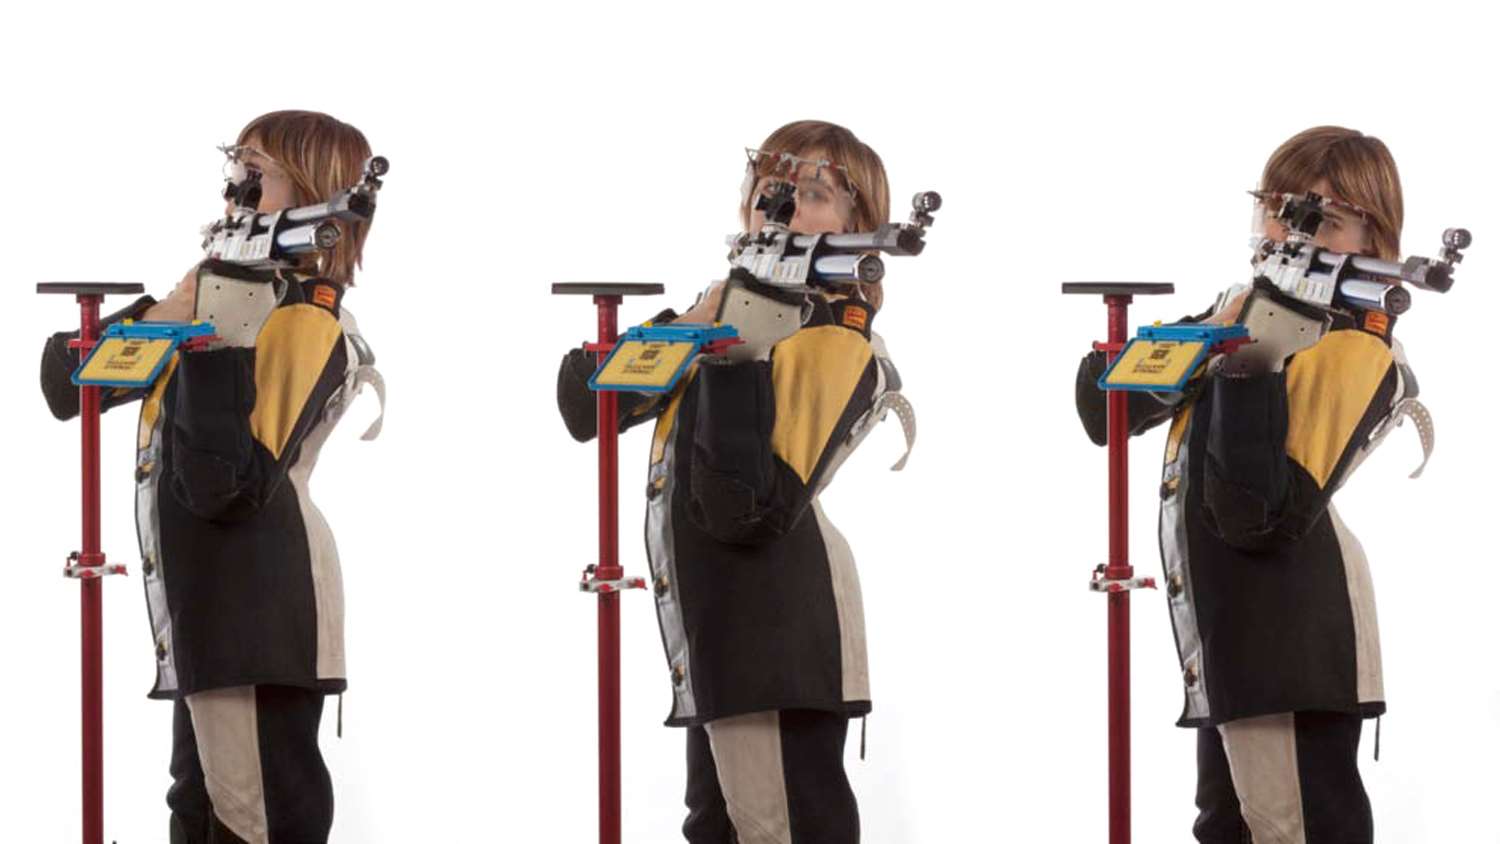
The range of motion is usually quite small to conserve energy but must be nonetheless precise. This movement is critical to a successful outcome of the shot. It must be executed in exactly the same sequence each time, during both sighting as well as competition shots.
Mounting Sequence—Back
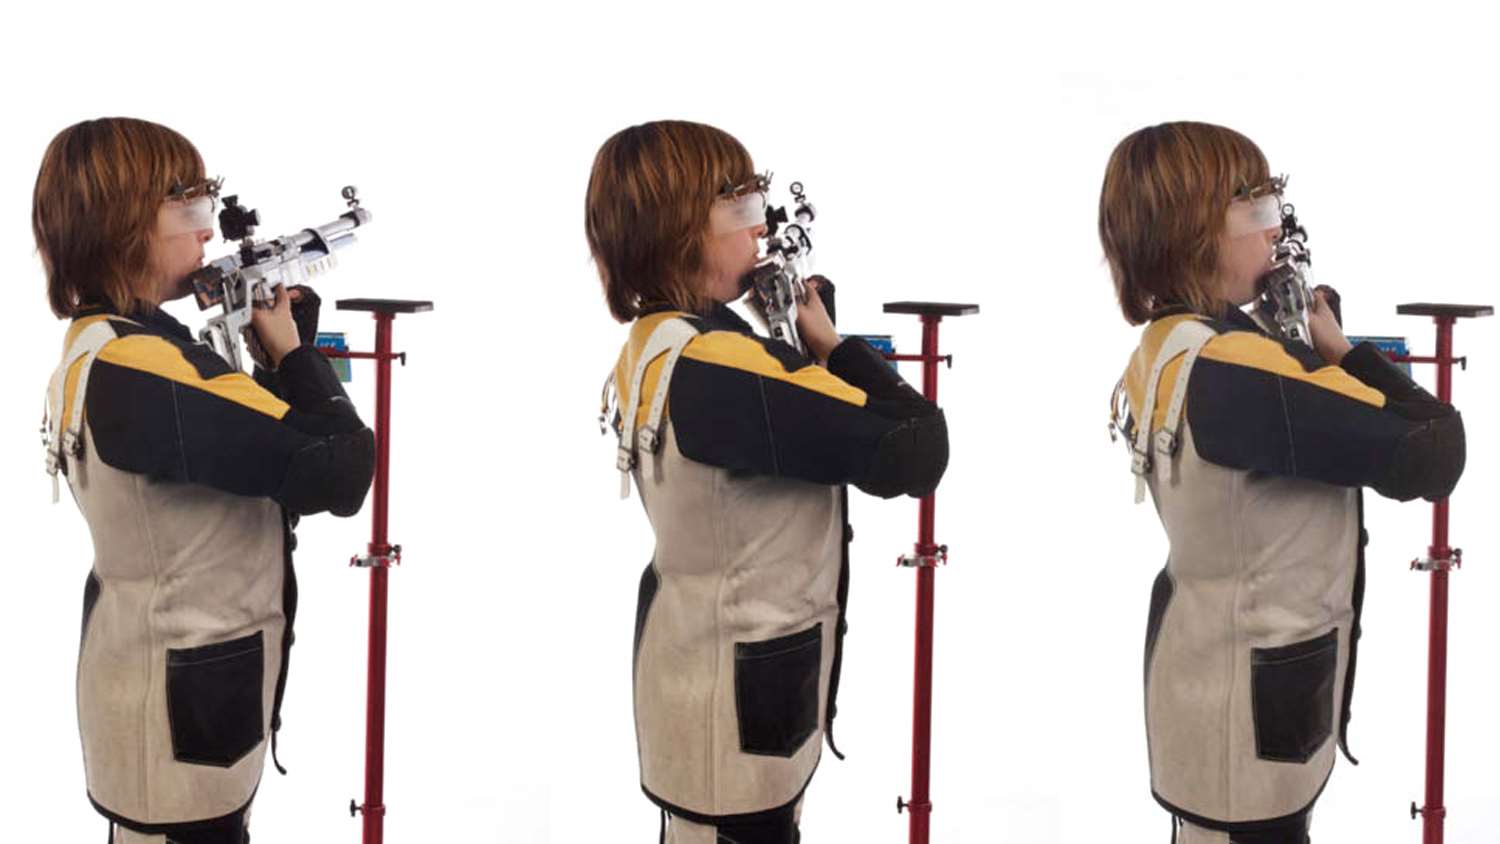
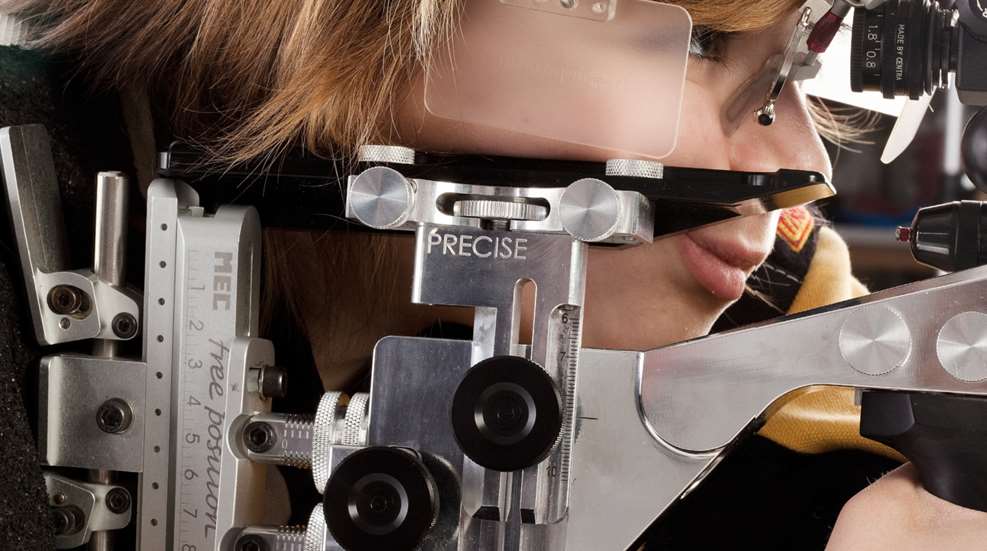
Analysis of the previous shot is completed and any corrections are made (see figures 3 and 4). It is important to then move on, mentally. The proper attitude toward the shot must be achieved before the rifle is lifted from the stand. The intention should be to correctly perform the shot in a precise manner, but the setup of the position must necessarily come first. A positive “I can do this” attitude is a must. As the rifle is lifted off the stand, the left elbow is placed on the hip or against the rib cage in the same place each time. An error of just one millimeter in any direction can result in the natural point of aim being off by a centimeter or more at the target, 10 meters away. That doesn’t sound like much, but it is the difference between holding on the 10-ring versus the 6-ring.
Check for excess and unneeded tension in the legs, hips, shoulders and arms. Excess tension is the cause for many below-average shots. Consciously relaxing these areas helps to make the hold slow and smooth without jerky movements caused by using muscles to correct (or overcorrect) the aim.
Mental programs are also included in the process of preparing, such as imaging exactly what you want to happen during the shot. The approach, the hold, the reaction (triggering) and the follow-through are mentally rehearsed with the intent of making it happen in exactly the right way. This process increases the chances that your body will do the correct things, at the right time, when you are actually firing the shot.
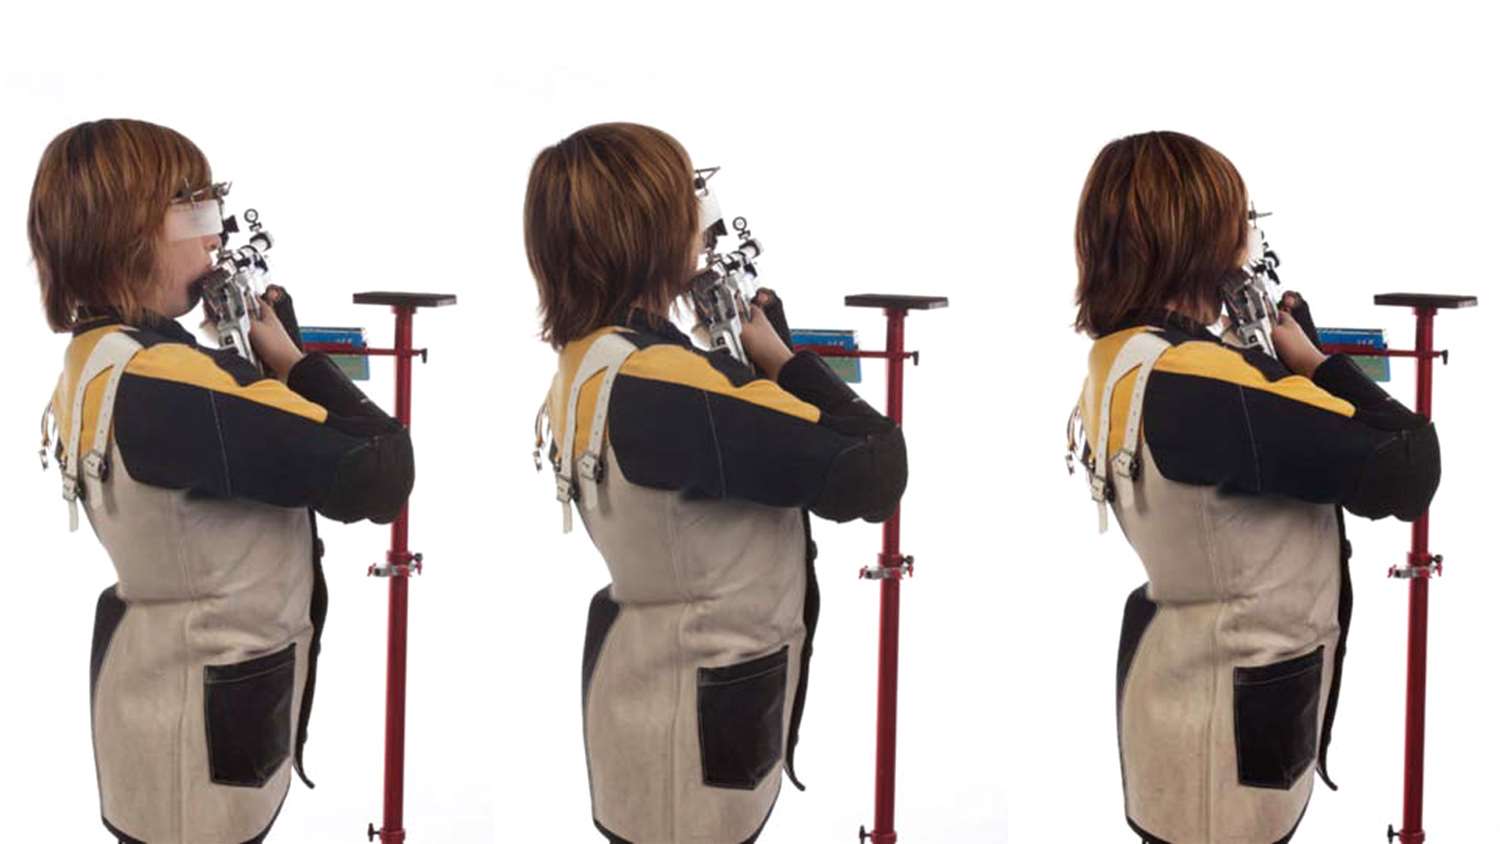
When everything is correct, only then should the shooter turn their head to look over the sights to check that they are indeed pointing at the correct target. The barrel should be pointing slightly above the target. Depending on the head and eye position, the front sight will appear to be pointing in a different place other than on the target. This is a check that the position setup is correct to this point. Where the front sight appears is not important. That it appears in the same place for each shot in relation to the target is very important.
The head is slowly lowered to the cheekpiece and only then does aiming begin. If everything was set up correctly, then the front sight will appear centered in the rear sight aperture pointing slightly above the target by about one or two bull widths (30 to 60 centimeters for an air rifle). As the position settles, the front sight tracks directly into the center of the target.
Loading Sequence
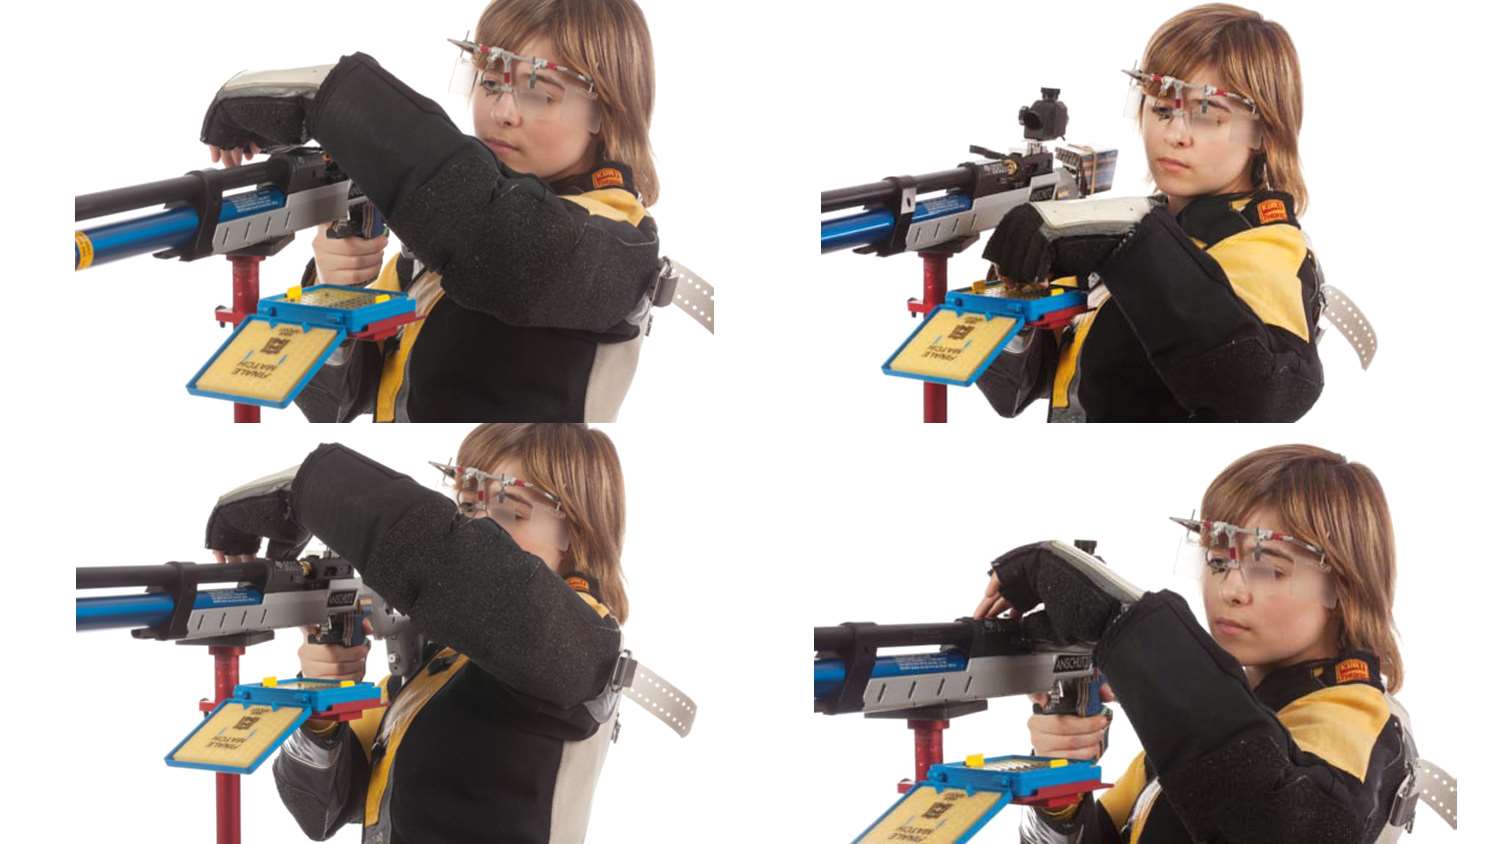
Note that the right hand remains on the pistol grip throughout the procedure (see figure 5). This controls the gun and this approach is more efficient, especially when shooting on single bull targets using carriers. Note the left hand both changes the target and is used to load the gun. While not shown, the leg and hip positions using this method are not disturbed as much as when switching hands to load. If the shooter is using the air rifle only for the standing position, switching the cocking mechanism over to the left-handed side makes sense.
Basic Standing Position
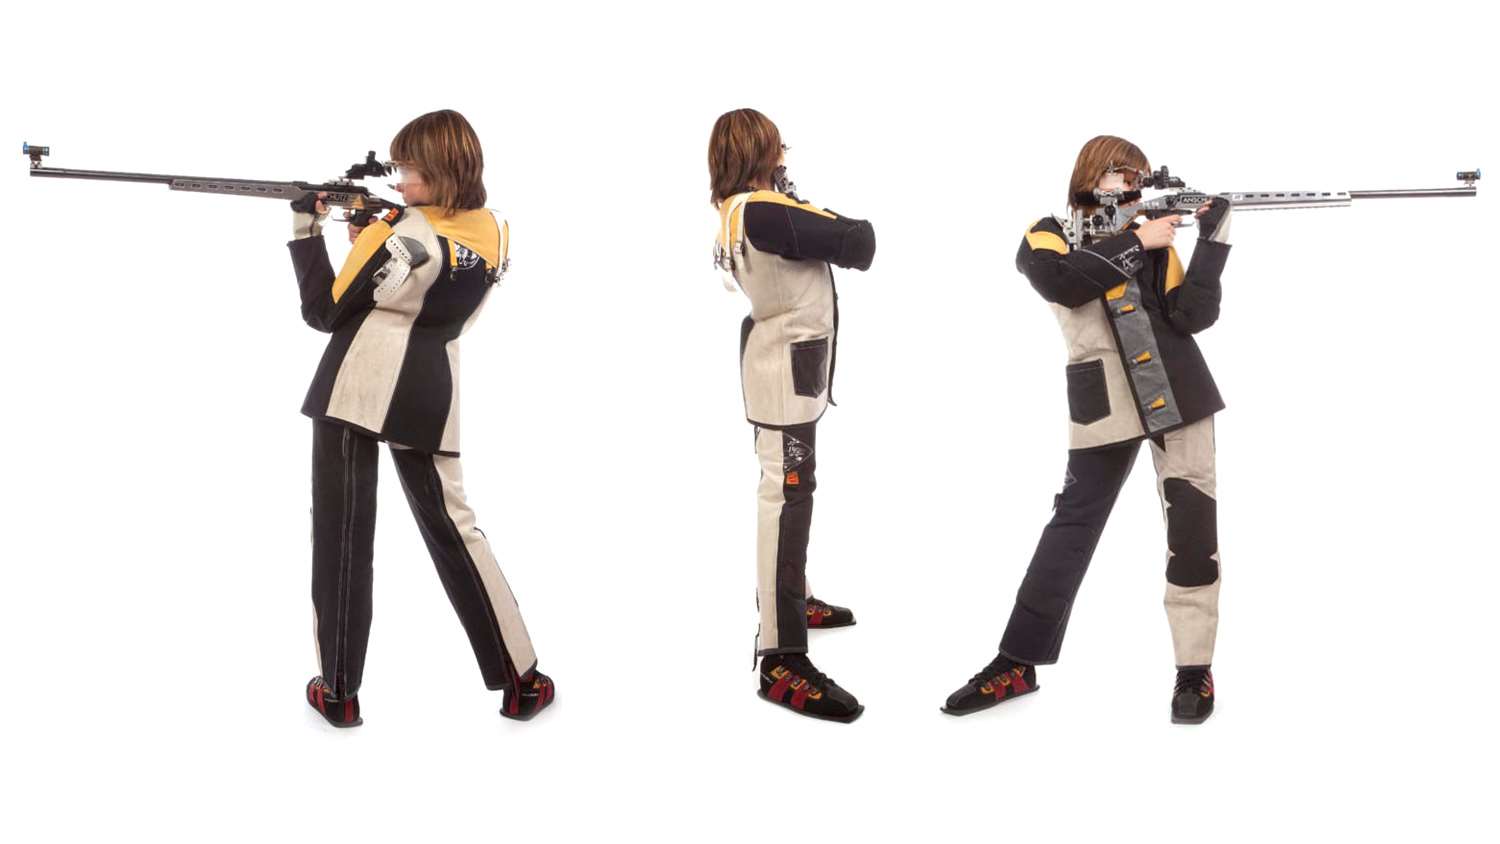
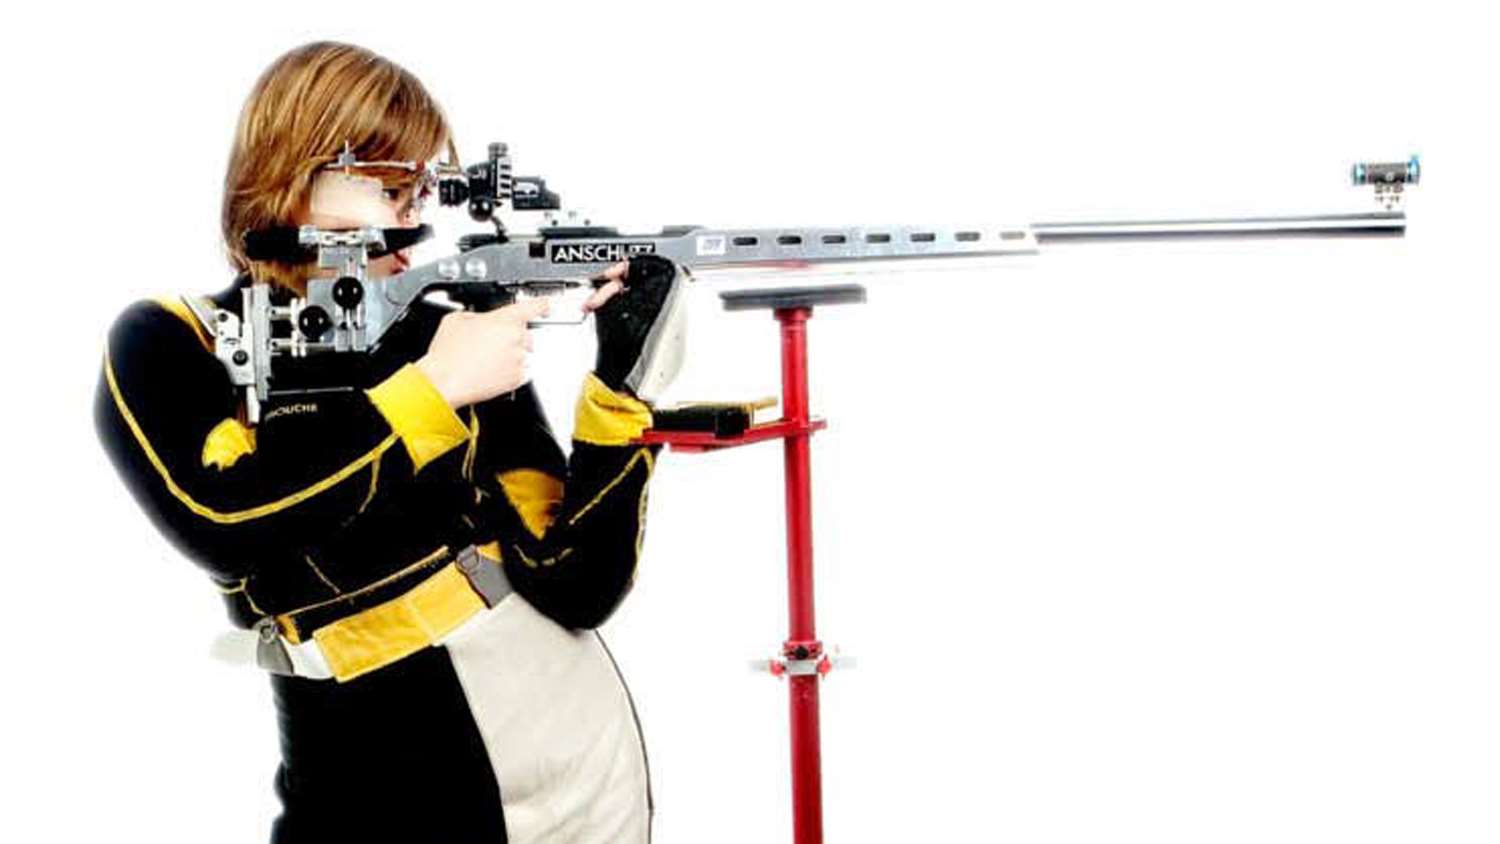
Feet are slightly wider than shoulder width (see figure 6). The left foot is pointing straight ahead, parallel to the firing line, with the left leg almost vertical. The left arm is almost vertical to support the weight of the rifle without muscular tension in the arm and shoulder. This model is quite flexible—females generally are. She also has long arms in relation to her torso length so she doesn’t need to use a standing block or palm rest. Her right foot is pointed out slightly more than normal to relieve tension she feels in the right thigh when both feet are pointing straight ahead. Feet, knees and hips are in line with the target. Hips and below are oriented in a vertical plane. The right arm is held up slightly more in air rifle to provide a better contact area between the right shoulder and the buttplate. The left arm is vertical in order to support the weight of the rifle, transmitting it to the left hip, through the left leg and on to the ground. Note that the left arm and left leg are almost vertical. Shoulders are nearly level with no hunching of the right shoulder to contact buttplate or dropping of the left shoulder to get elbow down to hip.
The use of a video camera or even still pictures can yield some very useful comparisons to the principles shown here. The most common error seen in standing positions at competitions around the country is the failure to keep the hips oriented properly. This rotation of the hips breaks down the most important stability factor for the standing position. Pay attention to this one principle and stability will improve. We will examine the prone and kneeling positions in future articles.
For more information on the NRA Coach Education Program, visit coach.nra.org


