There’s a common theme among first time online or in-person lessons I have with people. I usually start with a question, “What issues are you currently seeing in your shooting?” I use this to guide the session to make sure each individual gets the most value out of the time we spend. One or more common answers to this might be:
- I feel like my grip isn’t right.
- My dot/sights aren’t presenting consistently and causing me to have to wait long to start shooting.
- I feel like I’m “milking” my grip as I’m shooting, having to readjust every few shots.
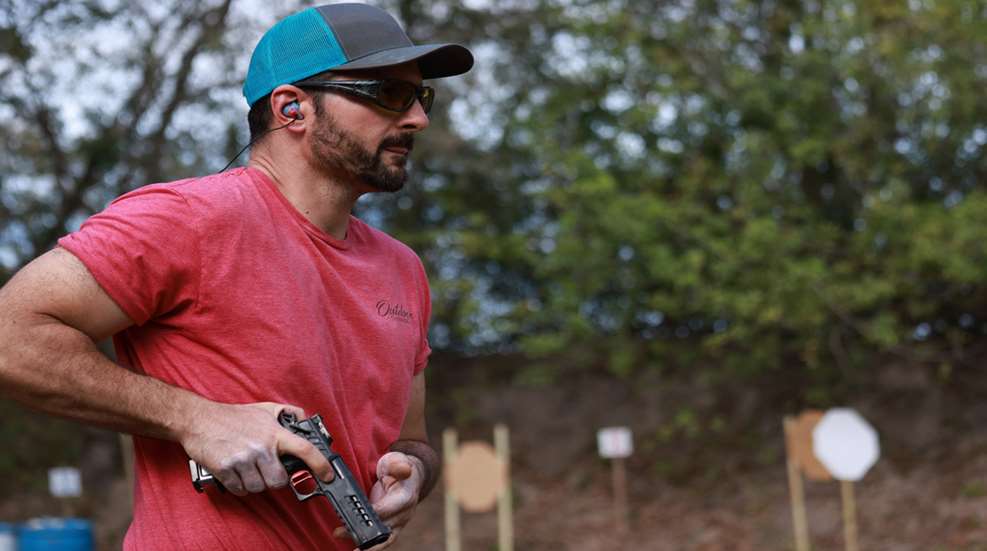
This usually results in our first lesson revolving around grip and something I’ve coined “the Presentation Process.” The idea behind this standardized process is to create the right principles to allow someone to present the gun effectively, and deliver effective first-round hits in minimal time, with a grip that is ready to handle any speed you throw at it. The shooter would want their grip to be fully completed before they hit full presentation, so that they can start firing immediately.
I’ll typically see this common issue as well. A shooter delivers a one-round draw in X seconds. I can usually get a shooter close to or under one-second draws relatively quickly with the processes I use. However, when asked to do multiple shots, their first shot draw times slow about 0.2 to 0.3 seconds when asked to do this. Why is this happening? Well, if the shooter doesn’t feel that they’re ready to shoot because their grip isn’t fully formed, they perform what I call a “grip check.” The process goes something like this:
- The gun is on target and sights are there with the confirmation the shooter would like. They usually have to question this a little more since “my index doesn’t always present correctly every time”, so they want to make sure it’s close to perfect.
- The brain goes “Is my grip strong enough to handle recoil for multiple shots?”
- The brain goes to the hands and checks the grip.
- If all is okay, the brain gives the trigger finger the all clear and the shot happens.
That all costs time. Time given away in a competition is time you don’t own. That is not ideal for us. With the Presentation Process I will describe to you, the process now becomes this to fire multiple shots:
- The gun is on target, my grip is ready well beforehand, and I’m able to get away with seeing less confirmation in my sights (I shoot off my fiber optic on my iron sights a lot). My presentation/draw path is very predictable so I’m already starting to visually predict when the fiber will hit my visual reference point.
- The brain gives the “all clear” and I start shooting.
You can see, just as a simplification of the process, how much potentially quicker this can be. Add in the fact that your recoil control will be significantly enhanced, and you can see how this can be a game changer for most people. This is why I’ve spoken about it so much.
So let’s get to it. Here is the process, it’s a simple four-word deal: fingers, palm, pressure, leverage.
It’s simple to remember and recite to yourself when you forget. Say it five times fast over and over and become familiar with it, and it will change your shooting for the better. Below are helpful descriptions of each one:
Fingers touch where they will be first—not a knife hand, not the palm touching first. The fingers need to set the leverage point. Often if you watch my draw in slow motion, my fingers are actually curled to make this happen. Ideally, this happens early in the draw or presentation, like almost immediately as the gun is rotated out of the holster and under the dominant eye. The palm hasn’t touched just yet. This seems a bit stingy, but it makes a noticeable difference when it’s done incorrectly.
Palm now connects to the grip panel of the gun. Simple but important, this happens just after the fingers touch.
Pressure is applied in a specific way. Think about pulling the fingers toward the palm, and pushing the palm toward the fingers. It’s not holding a hammer, it looks and feels different and allows a lot of pressure from the fingers to transfer into the grip panel of the gun. As this is happening, the gun will be starting to travel out to target.
Leverage is created as a result of involving the elbows into the system. Think about taking an upside-down horseshoe in your hands and trying to straighten it. The elbows will rotate to point away from each other by doing this. This also crushes the hands tightly together with larger muscles and bones. Don’t do so much that the bottom of the support hand comes off the gun. (Losing the first principle of grip “contact.”) A little bit will help a lot here.
When this is done correctly, you will feel a ton of grip pressure available to you on the gun. The area where the thumbs connect will feel tightly connected together, and your grip will be fully ready to shoot before your sights/dot are on target.
A last tip on the path of presentation—you will want the gun to travel in a way that keeps the muzzle flat the entire way. This gives you the most effective use of this process, and reduces the amount of error you might have. If you find that the muzzle is rotating up or down, you have a potential error of rotation in addition to the vertical error of the path itself. Make sure your muzzle stays flat the entire time.
When you get this correct, you’ll find the gun presents much more predictably while allowing you to start hammering on targets immediately. Give it a try and let me know what you think.
If you are interested in setting up an online lesson to discuss this or other aspects related to grip, or anything else shooting-performance related, please feel free to reach out via Instagram (@robepifania) or email me at [email protected].
Article from the September/October 2023 issue of USPSA’s magazine.

