In the third installment of the NRA America’s Rifle Challenge video series, Kyle Lamb of Viking Tactics strips the optics-mounting process down to a sequence that any safe AR-15 owner can follow, with an emphasis on the small habits that prevent big problems on match day. Watch the full video above or at the NRA YouTube page.
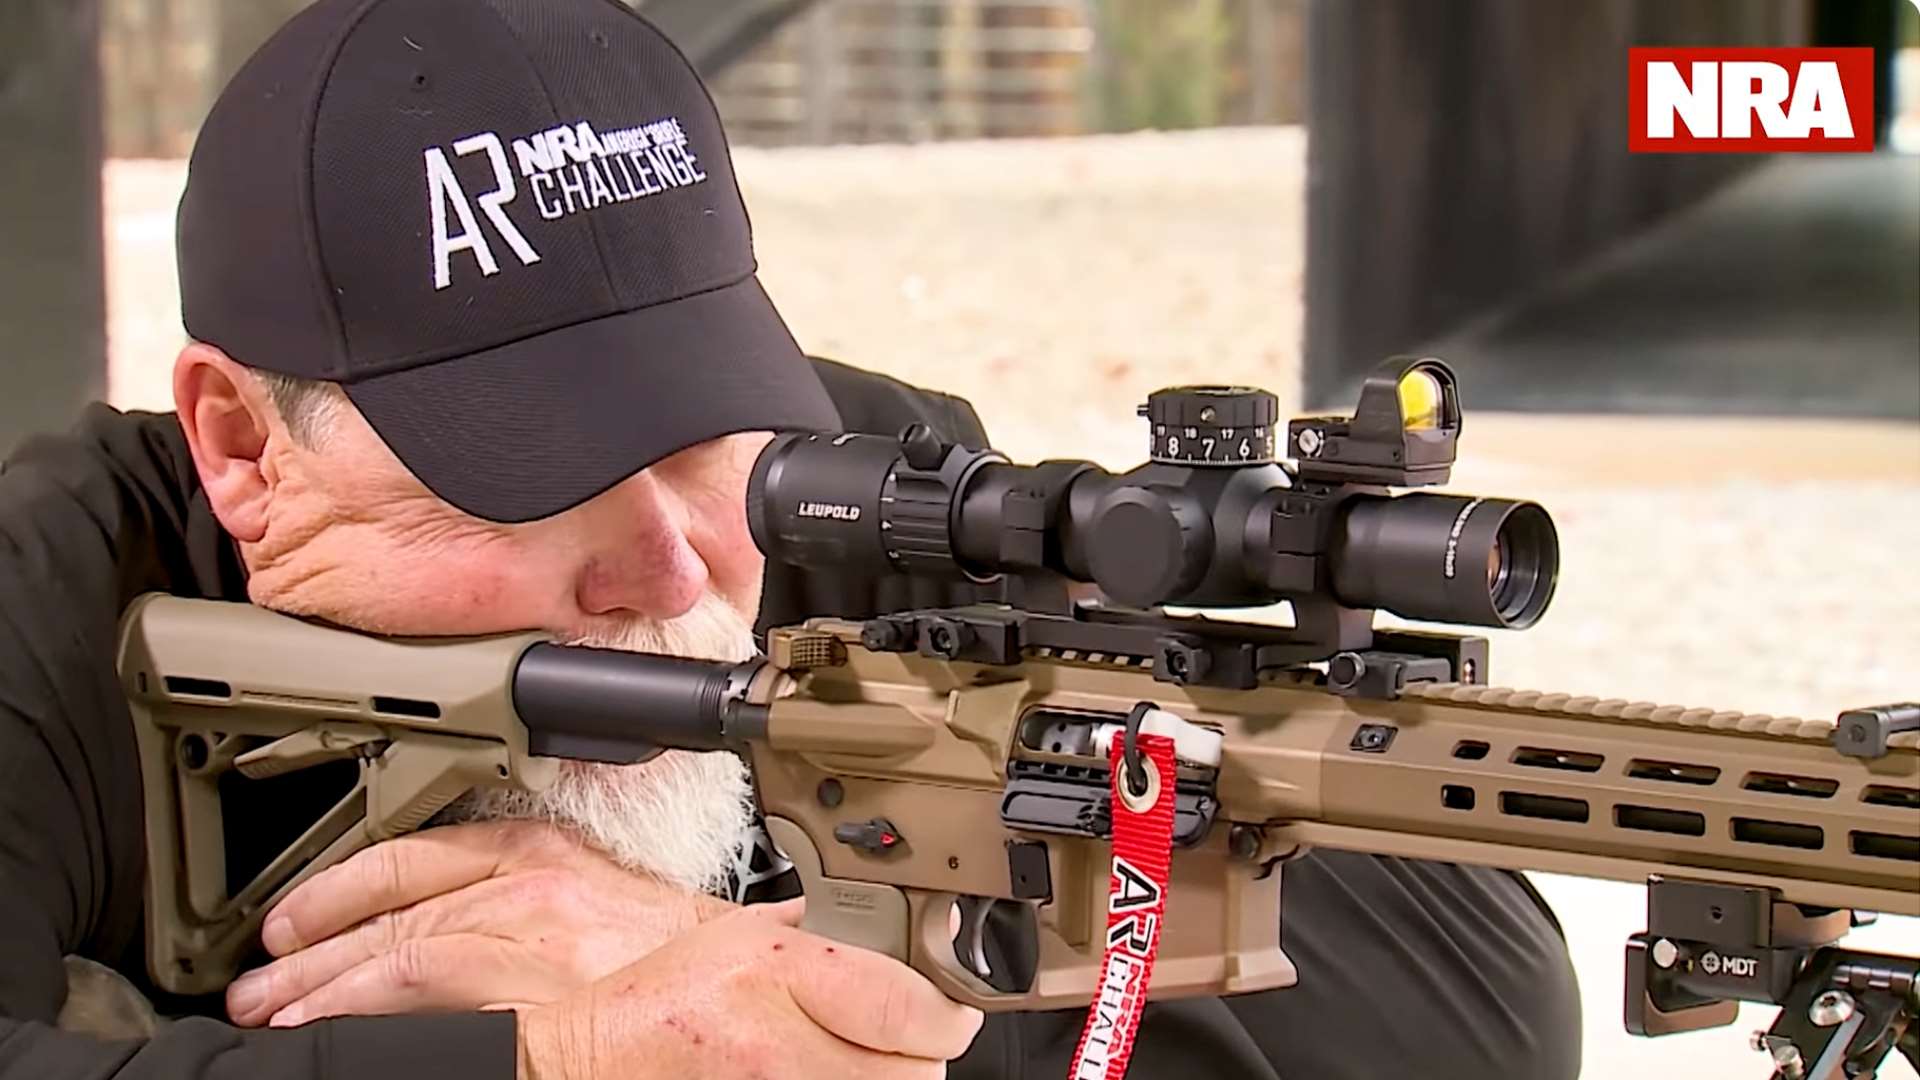
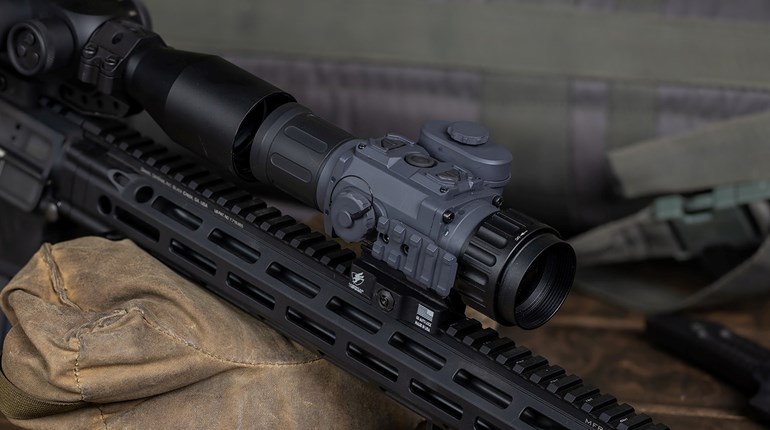
The video is aimed at competitors entering the ARC Open division, which allows a magnified scope paired with a non-magnified optic such as a red-dot sight. Lamb’s setup includes both: a magnified scope with a piggybacked, non-magnified red dot. His mounting procedure accounts for the clearance issues that come with running two sighting systems on the same rail.
He begins with the mount itself. Some mounts allow a small amount of forward-and-backward play before the cross bolts are tightened. Lamb’s first instruction is to push the mount forward before snugging those bolts. From there, he torques the cross bolts to 65 inch-pounds—not foot-pounds, a distinction he stresses because confusing the two will damage hardware—using a Fix It Sticks torque wrench kit. He tightens the bolts in an alternating pattern, moving back and forth between them until the wrench clicks. The click matters—Lamb specifically recommends a torque wrench without backlash, so the audible signal is reliable. He also notes that 65 inch-pounds is appropriate for his steel cross bolts. Aluminum bolts require a lower spec, and he advises checking with the mount manufacturer for the correct number.
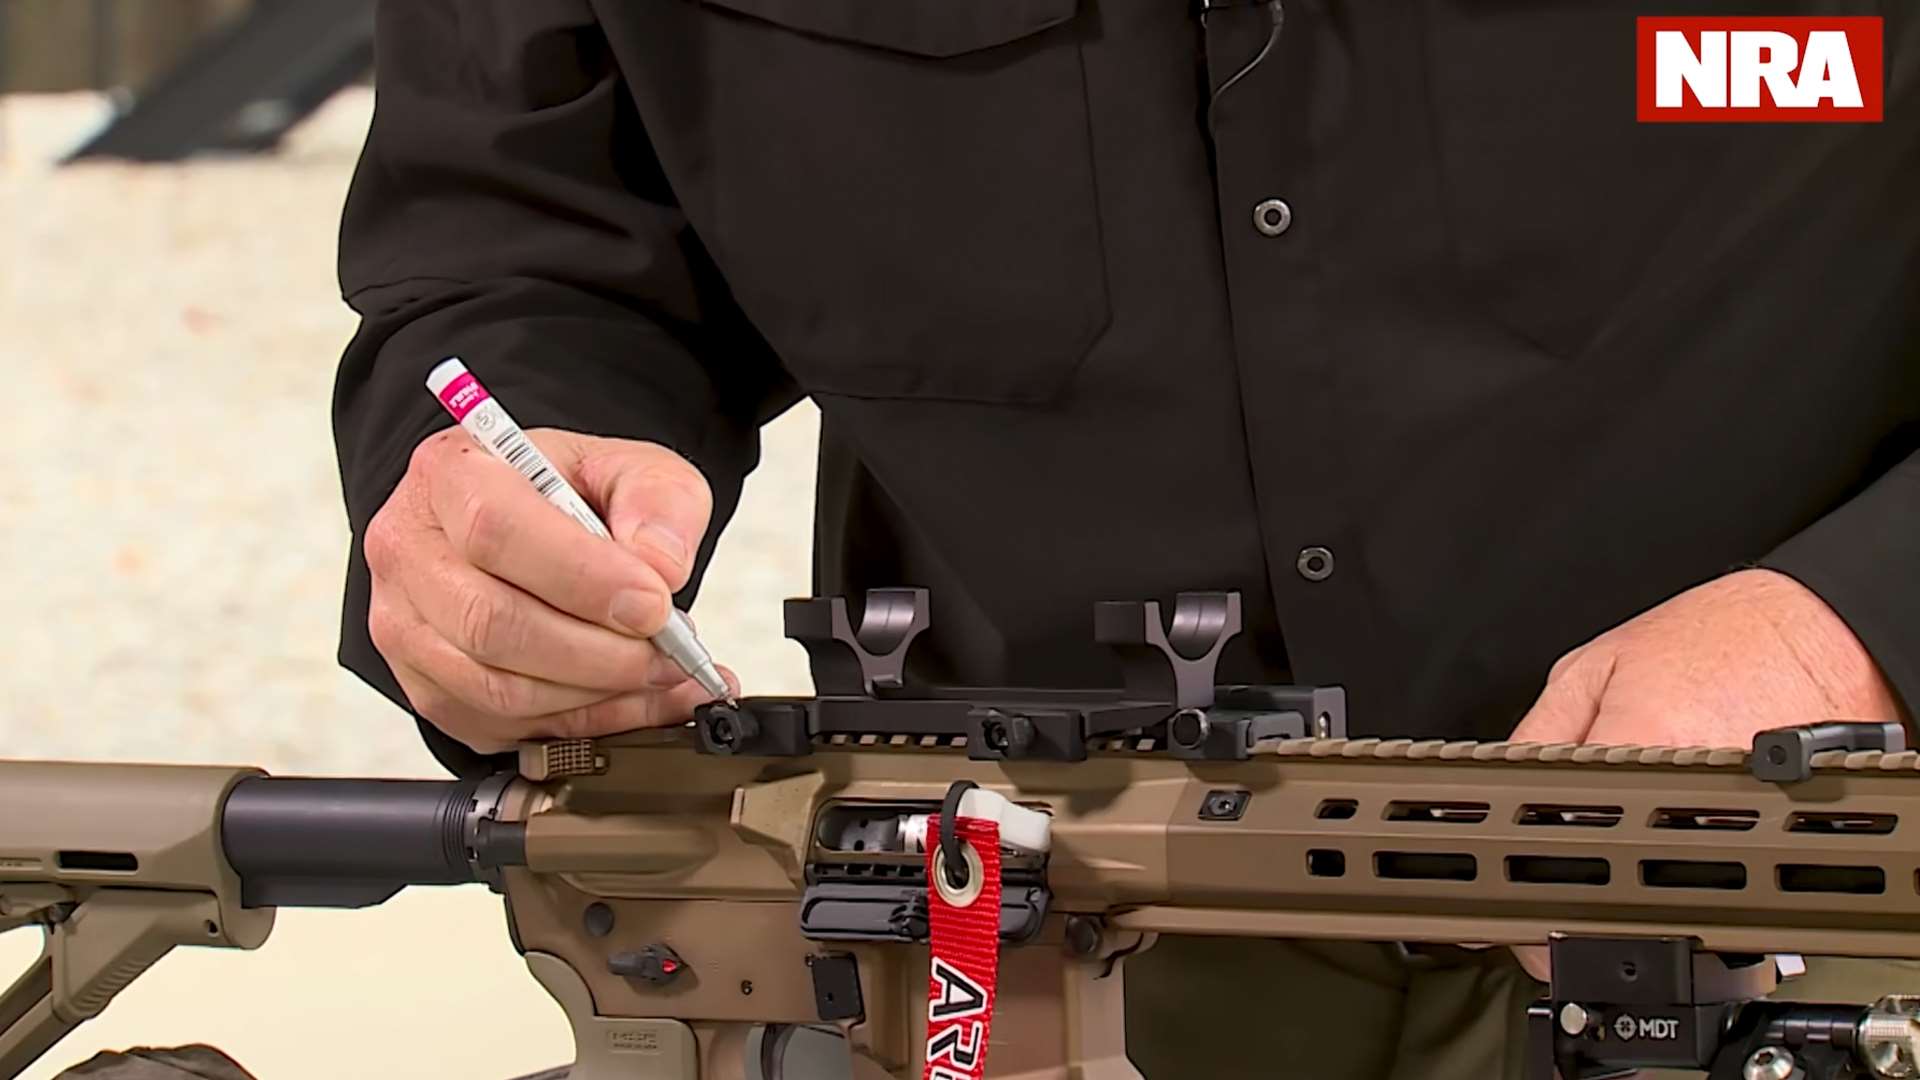
Once the mount is secure, Lamb pulls out a paint marker and puts an index mark across each bolt head and onto the surrounding surface. This simple visual reference shows if a bolt loosens even slightly, the paint lines will no longer align. He repeats this step on the ring screws after the scope is fully mounted, and he makes a habit of checking torque with his kit before every range session. The underlying message is that mounting a scope is not a single event. It’s an ongoing maintenance task, and the paint pen makes that task faster.
With the mount torqued and indexed, Lamb sets the scope in the rings and finger-tightens the caps, leaving the scope loose enough to slide and rotate. He checks for equal gaps on both sides of each ring split—a visual cue that the scope is centered and the rings are applying even pressure. Before leveling, he adjusts eye relief by shouldering the rifle and sliding the scope forward or backward until he sees a full field of view without straining his neck in either direction. Only after eye relief is set does he bring out the bubble levels: one on the Picatinny rail, one on top of the scope. He levels the rail first, then rotates the scope in the rings until the second bubble matches. The ring screws get tightened in the same alternating pattern as the cross bolts—front ring, rear ring, back and forth—until each one clicks at the correct torque.
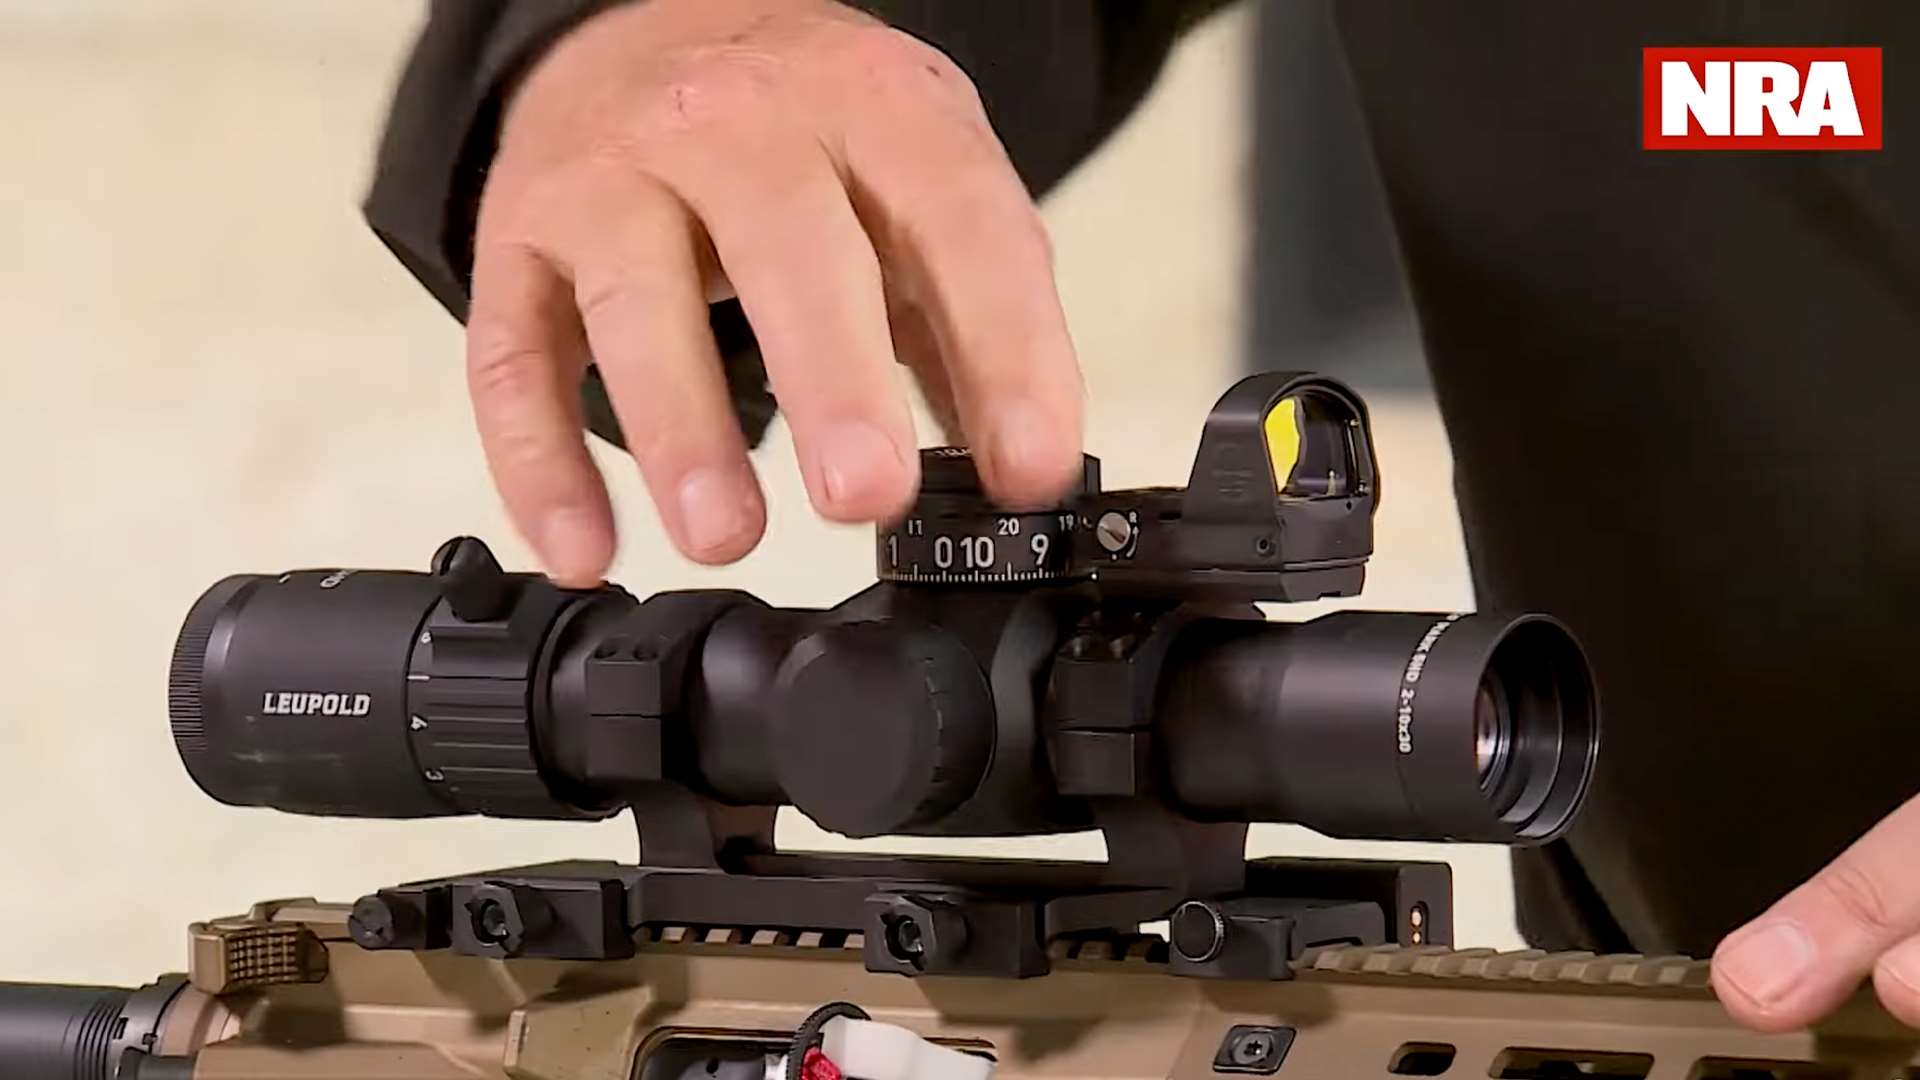
Before calling the job finished, Lamb confirms that the locking turret on his scope clears the piggybacked red dot, an easy thing to overlook when running two optics on the same rail. He also notes that leveling becomes more critical as distance increases. At 100 yards, a slightly canted scope may not produce visible errors. At 400 yards, which can be found in ARC Level 2 and Two-Gun stages, a scope that is not true to the bore will put shots off target in ways that no amount of holdover or dial correction can fix.
For more information on NRA America’s Rifle Challenge, visit arc.nra.org.