WARNING: All technical data in this publication, especially for handloading, reflect the limited experience of individuals using specific tools, products, equipment and components under specific conditions and circumstances not necessarily reported in the article and over which the National Rifle Association (NRA) has no control. The data has not otherwise been tested or verified by the NRA. The NRA, its agents, officers and employees accept no responsibility for the results obtained by persons using such data and disclaim all liability for any consequential injuries or damages.
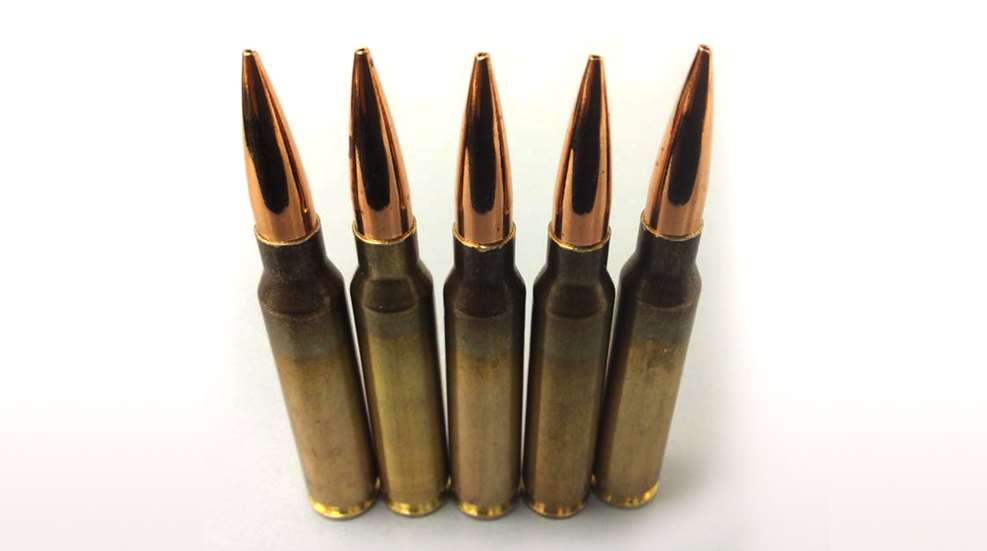
This week, we have Part 2 of our series on processing GI 5.56 mm brass for match accuracy. Those who missed Part 1 last week may find it good to check back for useful background information. Note: We're using the same photo for each post in this particular handloading series to make the different parts easier to find.
A common question, and important issue with U.S. GI surplus 5.56 mm brass is "what to do with the primer crimp?" The AMU Handloading shop does not prime/re-prime GI 5.56 mm brass, as we receive it in virgin state (primed) and don't reload it. However, our staff has extensive private experience handloading GI brass in our own competitive shooting careers, and have several tips to offer.
After cleaning/inspecting the brass as noted in Part 1, the question of de-priming arises. A particular, less-popular brand of dies is well-known to break decapping pins frequently when re-sizing and de-priming LC brass. (In this writer's experience, this can be as many as three pins in 10 cases!) If one is committed to using this type die, a separate decapping operation is mandated.
Several firms offer purpose-built universal decapping dies, and depending on whether one is using a progressive press or single-stage, this would add another operation to your process. Remember—one operation times 1,000 cases equals handling cases 1,000 extra times, and is to be avoided if possible! More popular dies, such as Redding, RCBS, Hornady and Lee tend to be more robust and decapping pin breakage is rare, if not non-existent.
Once the brass is FL sized and decapped, the staked-in ring of displaced metal from the primer crimp remains, and hinders re-priming. Some swaging tools exist to swage out this ring, allowing free access to the primer pocket. Some are stand-alone products, and some are reloading-press mounted. Early in this writer's high power rifle career, he used the common press-mounted kit several times, with less than stellar results.
Surplus brass tends to come from mixed lots, and primer crimp varies from very mild to strong. Also, primer pocket dimensions vary. So, setting up this “one size fits most” tool involves trying to find a happy medium for a selection of different types of brass in your particular lot. Some are over-swaged, some under-swaged, and some are “just right.” Overall, it was a time-consuming and sub-optimal process, in this writer's experience.
From there, this writer evolved to using the ubiquitous Wilson/RCBS/Other brands chamfer and deburring tool to cut out only the displaced crimp ring at the top of the primer pocket. One caution: Don’t overdo it! Just a little practice will let the handloader develop a “feel” for the right degree of chamfer that permits easy re-priming without removing so much metal that primer edges start to flow under pressure. For this writer, it was three half-turns of the tool in the primer pocket, with medium pressure.
Here, as with all bulk reloading operations, mechanization is our friend. A popular reloading supply house has developed an inexpensive adaptor that houses the chamfer/deburr tool (retained by an allen screw) and allows mounting in a hand drill or drill press. This speeds the operation significantly, as does the use of one of the popular case preparation stations that feature multiple powered operations. Say goodbye to carpal tunnel syndrome and arthritis!
A word of advice (often learned the hard way)—think carefully before jumping on the “latest/greatest” case prep center. One with a proven, long-time track record of durability and excellent customer support has a lot going for it, vs. the flashy “new kid on the block.” Analyze the functions each case prep center can support simultaneously—i.e., can it chamfer, deburr and clean primer pockets all at the same time, without having to re-configure?
Do the tool-heads that come with it look truly functional and durable? If not, can they be easily replaced with proven or more-needed versions, such as a VLD chamfer tool, or a solid/textured primer pocket cleaner rather than a less-durable wire-brush type?
One advantage of chamfering the primer pockets lightly to remove remnants of primer crimp, vs. swaging, is that primer pockets are not loosened in this process. U.S. GI (usually LC) NATO 5.56 mm brass has a great reputation for longevity due to the superior hardness of the case head vs. some softer brands of commercial brass. This means the brass will stand up well to multiple full-pressure loads without loosening primer pockets, and the chamfering method helps support this benefit.
As to re-priming, a couple of factors are worth noting. When re-priming using either single-stage presses, hand tools or bench mounted tools (such as the RCBS bench-mounted priming tool), precise alignment of the primer pocket entrance with the primer is easily achieved, and priming goes very smoothly. When using certain progressive presses, due to the tolerances involved in shell-heads, etc., one may occasionally encounter a primer that isn't quite perfectly aligned with the primer pocket.
If resistance is felt when attempting to re-prime, do not attempt to force the primer in—doing so can be dangerous! Rather, just exert slight upward pressure to keep the primer in contact with the case-head, and with the support hand, move the case back/forth a trifle. The primer will drop into alignment with the primer pocket, and then prime as usual. After priming, check each seated primer by feel. Ensure it is below flush with the case head (cleaning primer pockets helps here), and that there are no snags, burrs or deformed primers.
As always, we hope this is helpful to our fellow shooters, and be sure to check out Part 3, when we'll discuss sorting cases for match accuracy and setting optimal neck tension. Until then, good luck, and good shooting!
Continue to Part 3.
SSUSA thanks the U.S. Army Marksmanship Unit for allowing the reprint of this article.
Most Popular