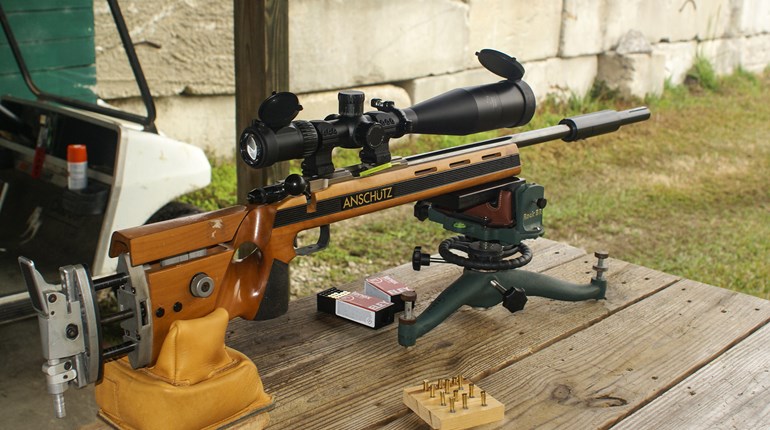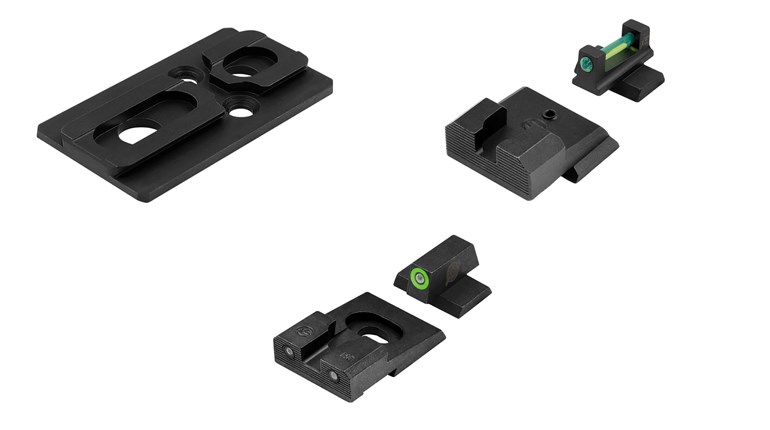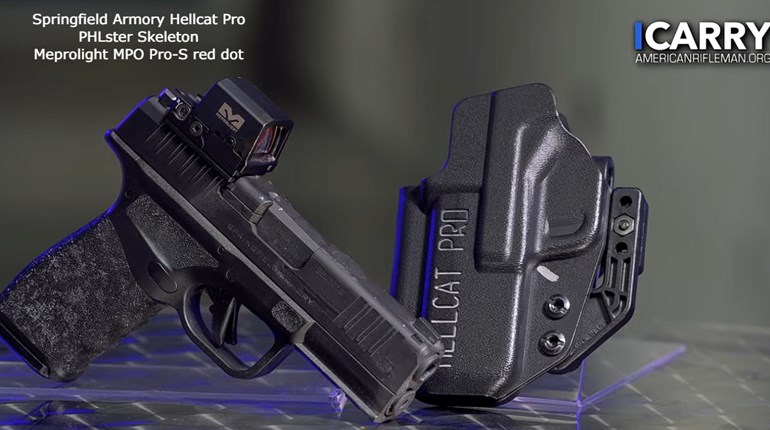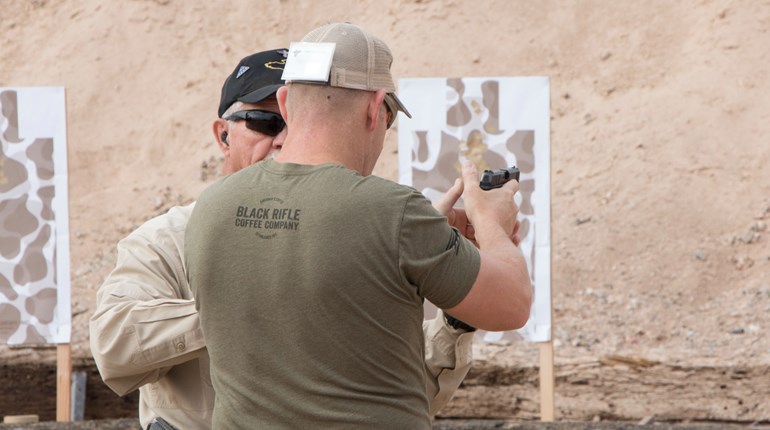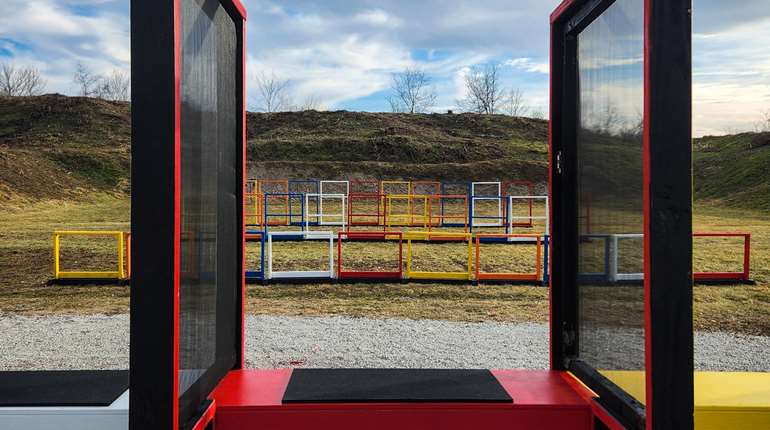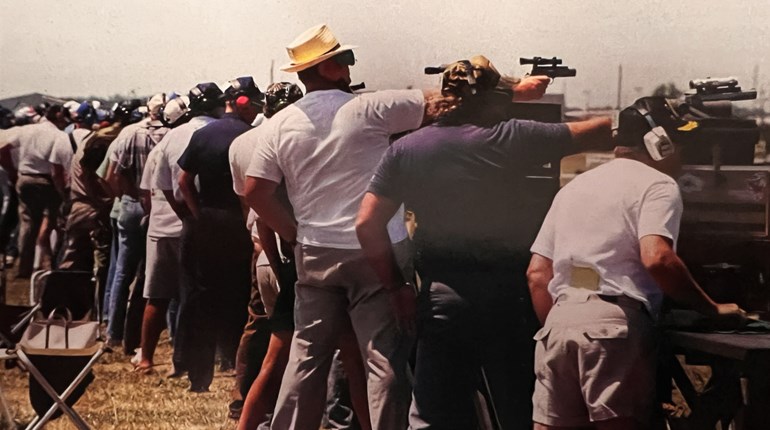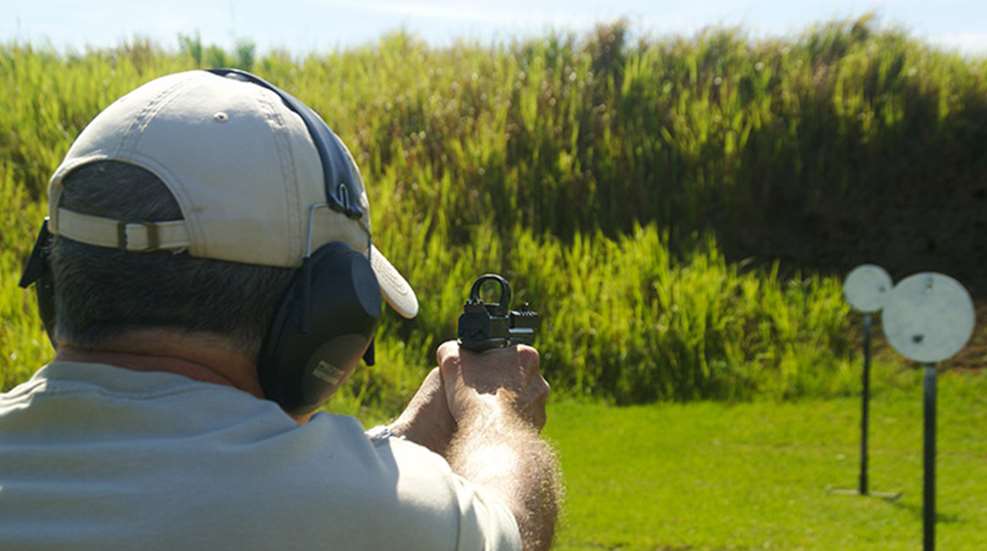
Above: Steel Challenge may be the best way for Carry Optics shooters to master the dot. It will force them to do things correctly.
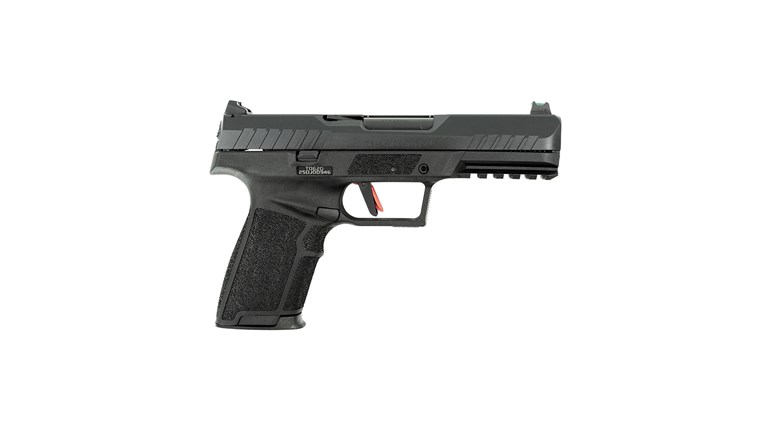
Acknowledging the popularity of compact reflex sights mounted directly to the slide of semi-automatic handguns, USPSA made the decision a few years back to add Carry Optics as a provisional division. The term provisional is shorthand for “Let’s toss it out there and see if it flies.”
Carry Optics (CO) not only flew, it soared. It’s become one of the more popular divisions in USPSA and Steel Challenge, especially with older shooters who don’t see iron sights as well as they used to. That prompted IDPA to add it as well.
Some found it immediately beneficial, while others struggled with the transition. Here are some tips to end the struggle and improve your CO scores.
Selecting a Sight
The initial reflex sight offerings were compact models designed for concealed carry. Competitive shooters found it was not hard to lose the dot in the small sight window when running rapidly in freestyle, and very easy to lose when weak or strong hand was mandated. That required score-killing time to reacquire the dot.
Subsequently, sight makers responded with bigger sight windows with optics like the SIG Romeo3 Max and Romeo1 Pro, the Trijicon SRO and others. The bigger window was a game changer.
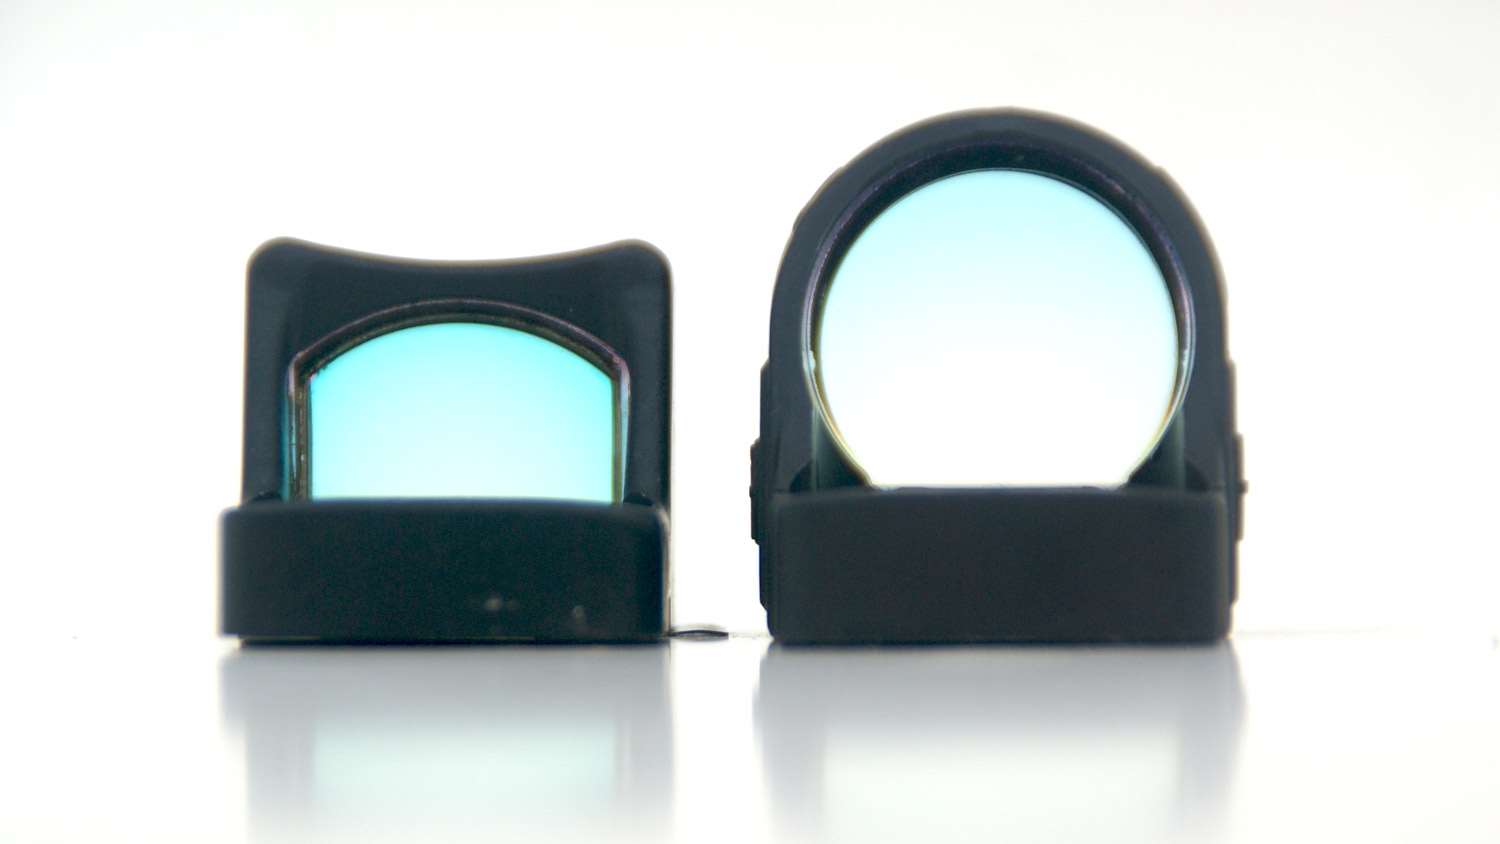
With the original Trijicon RMR on my S&W C.O.R.E., I could lose the dot freestyle, and often lost it with weak or strong hand. When I replaced it with the Trijicon SRO, the big window made it impossible to lose the dot—regardless of which hands were shooting the gun. That saved me time through the COF, and quickly improved my scores.
Zeroing the Sight
Reflex sights sit higher above the bore than iron sights. That creates a bore/sight axis offset. In order for the bullet to impact on the dot (POI) the bore and sight axis must intersect at some point. With the bore axis fixed, the sight axis must be adjusted to point downward to intersect with it to achieve the point of aim (POA). Once the sight axis is pointed downward, it will continue downward along that line, while the bore axis continues on its fixed line. Prior to the chosen intersection point the sight axis will be above the bore axis and the POI will be lower than the dot. Beyond the intersection point the sight axis will continue down and away from the bore axis, making the POI higher than the POA.
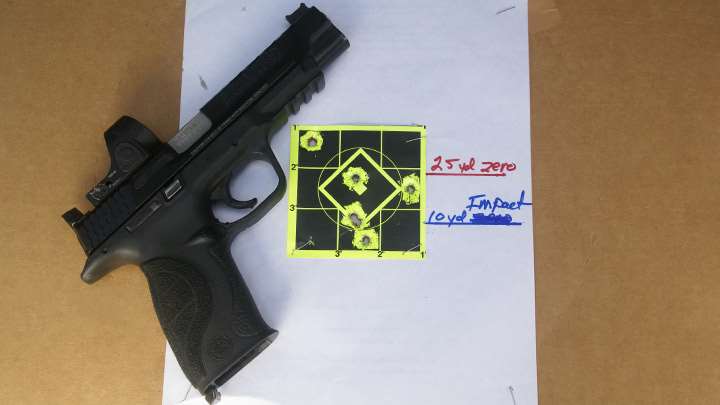
A red dot can never be “on” at all ranges, but the right sight-in distance can get it close enough for match performance. Longer zero distances are more effective.
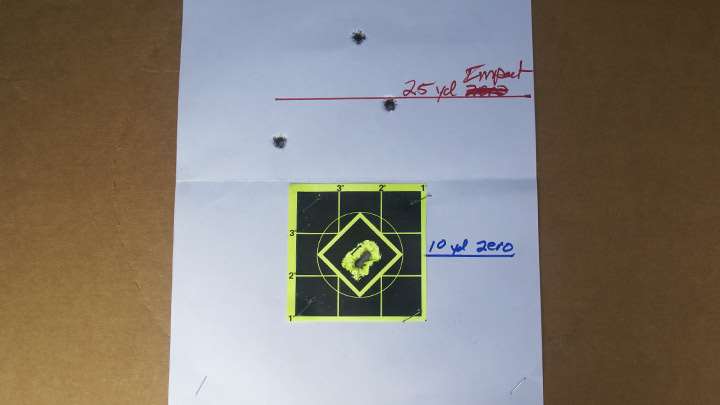
With my SRO zeroed at 10 yards it’s 3.8 inches high at a 25-yard distance, and almost seven inches high at 35. Zeroing it at 25 yards puts the POI one inch low at 10 yards, and only two inches high at 35 yards. That works for A- and 0-zones at any match ranges.
Nailing the Dot on the Draw
For some iron sight shooters, the biggest problem encountered when making the shift to reflex sights is quickly finding the dot on the draw.
Many iron sight shooters focus on the first target to be engaged (target focus). At the BEEP, the gun is presented to the target with the muzzle/front sight slightly high. That makes it stand out and aids in getting the sights to the target. Focus then shifts to the sights (sight focus). The front sight is dropped into the rear notch and the shot triggered. This doesn’t work well with reflex sights.
There is no sight focus with reflex sights. It’s all target focus and the dot will simply appear on the target as the gun is presented. The normal iron sight draw stroke significantly interferes with this because the higher muzzle angle can result in losing the dot, which then requires a time-consuming game of “Where’s Waldo?” The draw stroke needs to be adjusted to put the dot on target, and this can be easily done with an 8.5x11 sheet of white copy paper.
Attach the paper to a plain cardboard backing at 20 or 25 yards. A timer set on delay is nice to get the BEEP. The drill is one draw/one shot. Focus on the target. Concentrate on adjusting the initial muzzle angle on the draw stroke to put the dot on the paper as the gun comes from the holster to the target. The shot should break as soon as red dot hits center white.
Developing shooting skill requires repetitions. The mental/physical “computer” must be re-programmed. But when a shooter can quickly drill a four- or five-inch center paper group, they have successfully made the shift.
This basic drill addresses the first shot, but most paper targets require two. Adding in the Double Tap Drill will stress recoil control and dot re-acquisition for the second shot. The Transition Drill is another valuable practice routine that will aid shooters in moving rapidly between multiple targets, while maintaining target focus with the dot. It’s also well worth the time to run both of these drills from shorter ranges (inside of 10 yards) with weak and strong hand only. This requirement will crop up in any USPSA or IDPA match and can be a major problem for red-dot sights.
Lastly, shooting Steel Challenge can be great practice for USPSA and IDPA Carry Optics shooters. White plates of varying sizes are widely spaced from seven to 35 yards. There are five plates per stage and each of the multiple runs through the stage starts from the holster. Scores are based on the time it takes to hit each plate. And the plates don’t have scoring rings. Every shot is a pass-or-fail exam that will stress the draw stroke, accuracy and transitions. It forces shooters to perform correctly.
Any new piece of shooting equipment requires transitional skill building. Adhering to these suggestions will help improve CO scores.
See more: Top USPSA Carry Optics Guns For 2019


