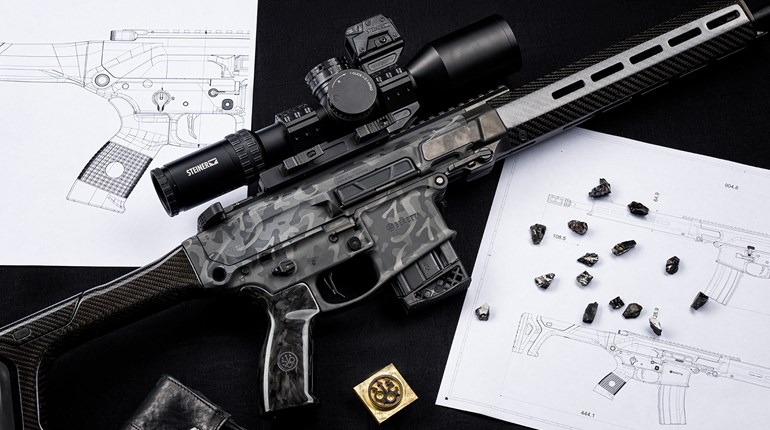
Here comes a shocker to many readers—new production rifles and their barrels are not "new." Production rifle barrels are drilled, straightened, rifled, sort of cleaned, patched then assembled into an action and head spaced. Then the completed rifle is test fired prior to shipping. And depending on the caliber and type of rifle they may be fired several times. No factory rifle, shotgun or handgun is "new and unfired in the box"—say what? Sorry Stewie, yup, it's true! All major player factory guns (including handguns) are test fired until the factory tester is happy and sometimes that may mean several shots. This is a basic accuracy check, and a functioning and safety test. Then an oiled swab or patch is run through the barrel and it is off to packaging and shipping.
In my humble opinion, I think this process can leave microscopic production metal shavings and machine oil embedded in the bore—why wouldn't it? Custom barrels go through the above process but they are generally not assembled in an action and therefore are not test fired. Many times custom barrels are air gauged for final quality check and hand lapped to "smooth" them out and then cleaned up very well and all of this extra love is part of the reason for their price.
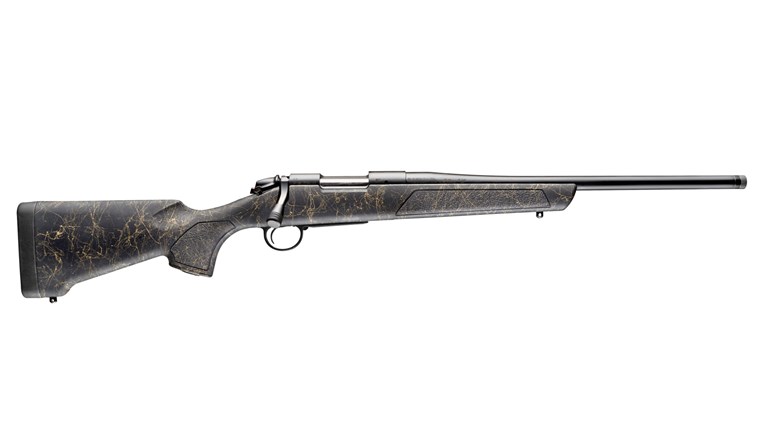
Forty years ago I devised a way of getting rid of that "embedded crud" in production rifle barrel as well as possibly some custom barrels once assembled in the action. “My process” so far has resulted in near pristine bores without using abrasives. I feel it really made my guns shoot better and last longer—as even my 30-year-old hunting rifles can print ½ MOA at 100 yards (at the worst). This process works best with new rifles and actually could hurt older guns—especially if they have pitted bores, therefore I recommend it only for new barrels and new firearms, and it works just fine for either blued carbon steel or stainless steel barrels.
Note: I have only done the following process with bolt action rifles.
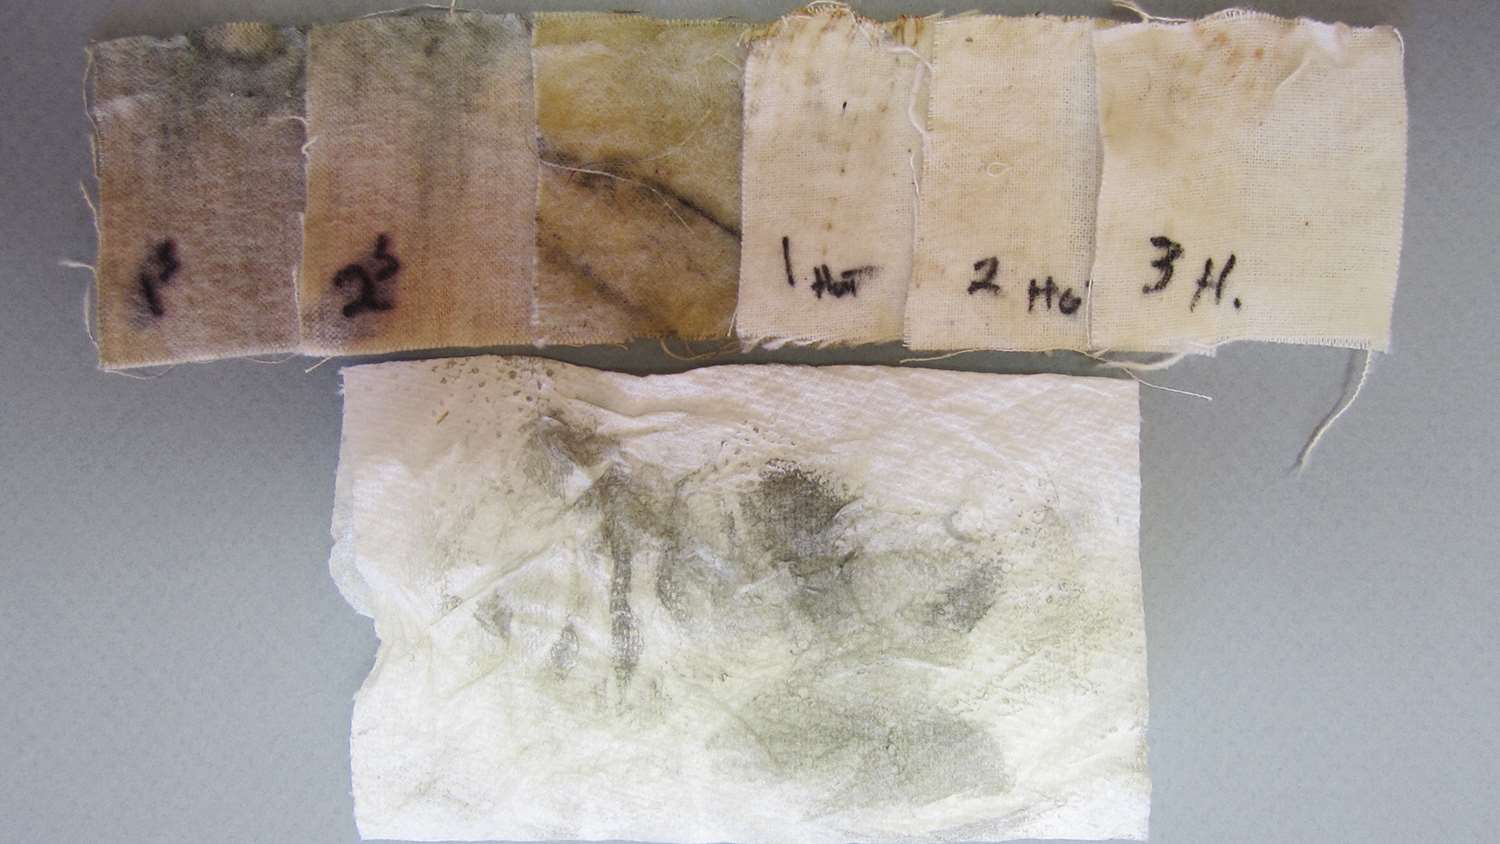
I first put the new "unfired" rifle in my MTM cleaning cradle (easier to hold a full rifle in the cradle while I brush it). I remove the bolt from the action and set it aside. From the chamber end of the rifle I run a couple of copper removing solvent loaded patches through and let it sit for a couple of minutes. Then I run a dry clean patch and now the work begins. I load solvent (never mix solvents—use only one type and brand) on a good brass brush and run it from the chamber to the muzzle and back 10 times followed with another solvent soaked patch and again finish with a dry patch. I repeat this process two to three times depending on the gunk on the patches—you will see. This results in a pretty clean barrel and the patches you will discover are pretty ugly and may even have steel sparkles in them from any ultra-small metal particles left in the barrel.
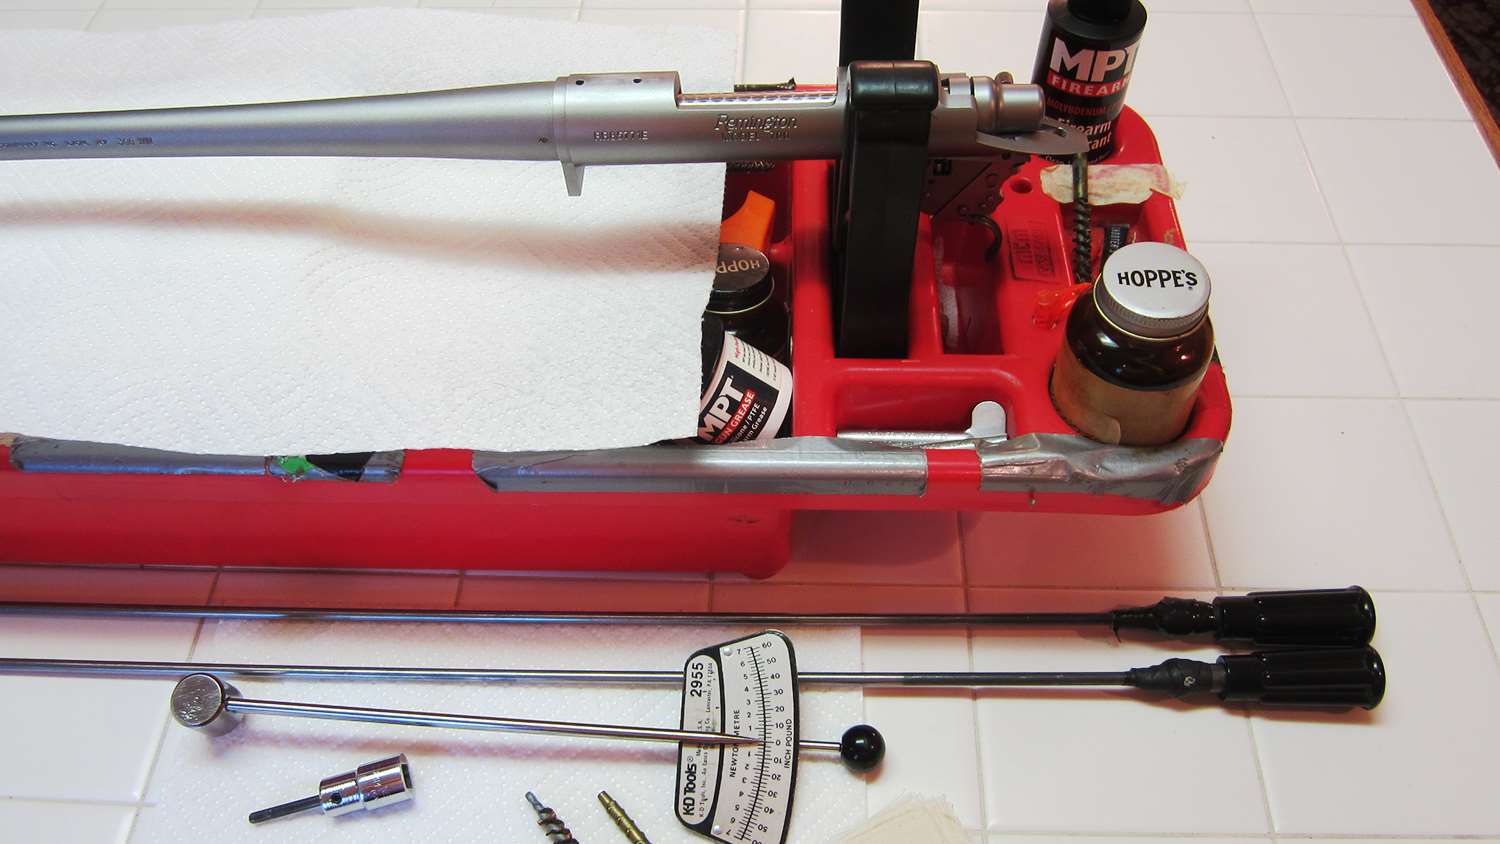
During this process I have a few gallons of water boiling on the stove (lots of the wife's pots and pans). I now remove the barreled action from the stock. In my case, during removal I use an inch-pound (NOT foot pound) torque wrench to unscrew the action screws and see where they are set from the factory as a reference point. With the action out I wipe any excess solvent from the stock's bedding area and set it aside.
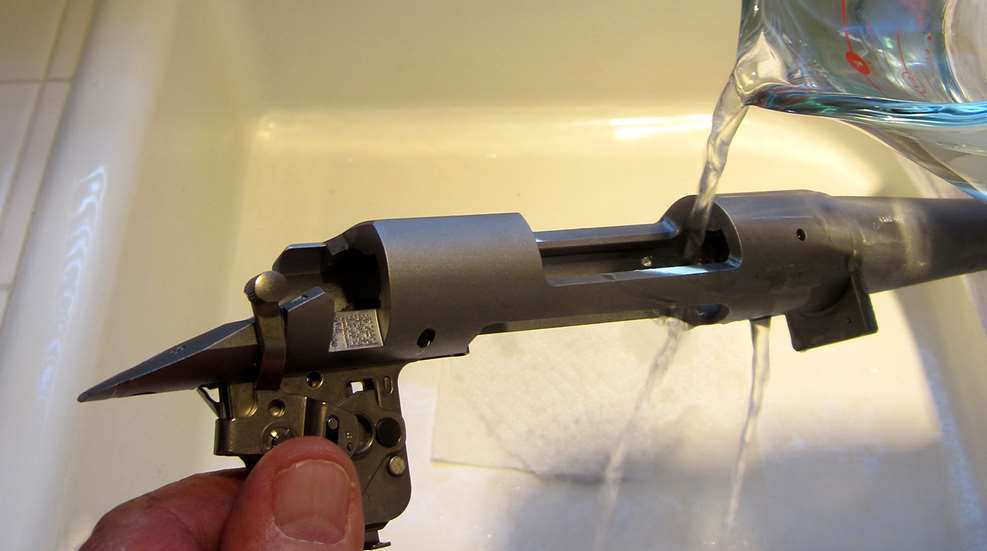
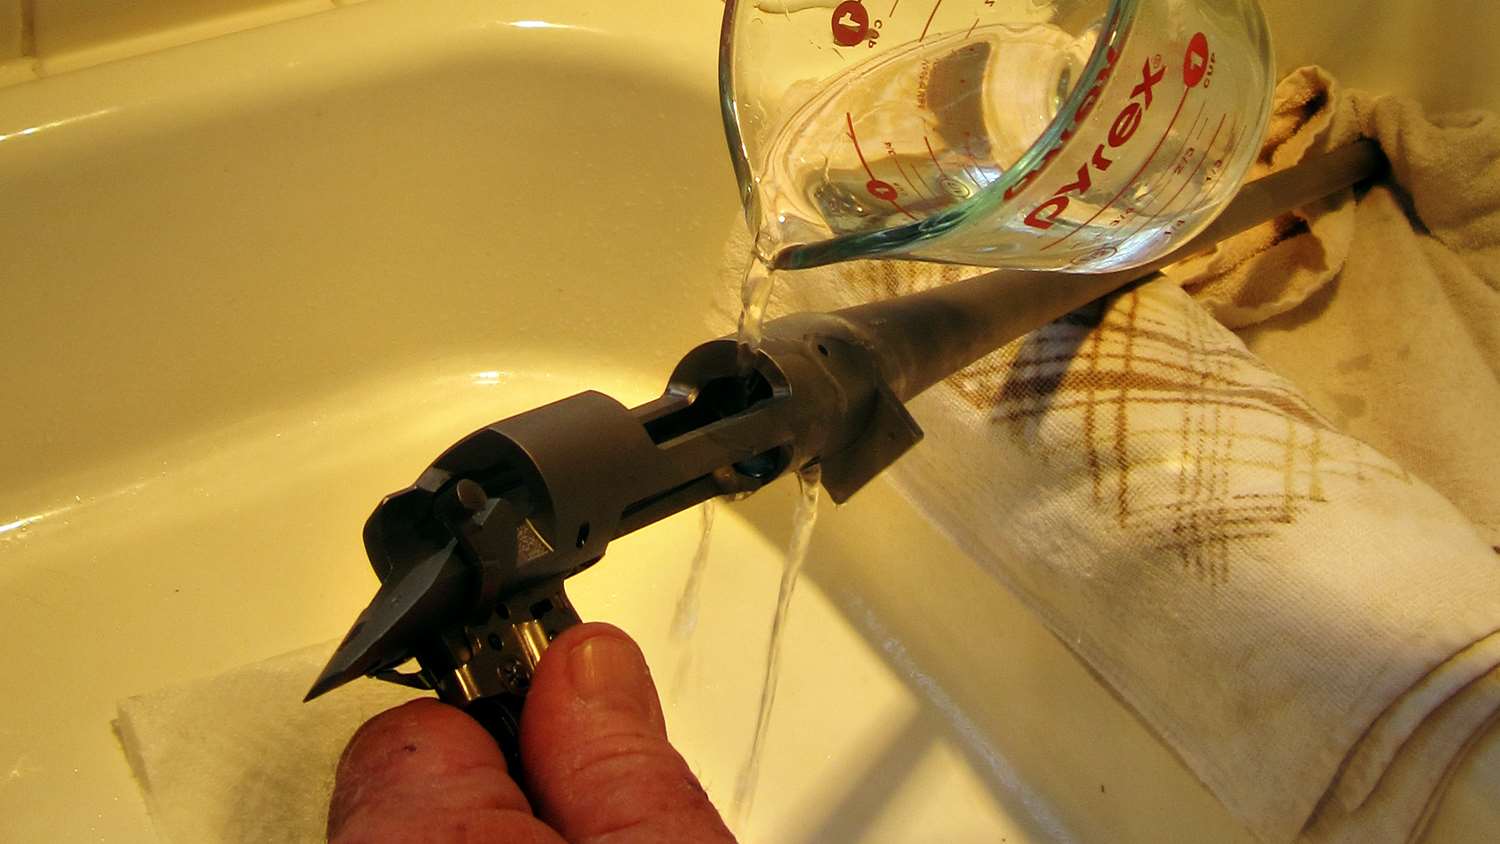
Now it is off to the kitchen sink and yes, my very understanding wife (she who must be obeyed) knows about this. I place a folded towel in the sink to protect the muzzle and crown from the sink's surface. Into the chamber goes a more than generous shot of liquid dish soap which is allowed to wind its way through and out of the barrel into the sink. The real fun comes when I dip a cup into the boiling water and pour it into the chamber. I also wrap the action with a thick towel to protect my hands as the action and barrel are going to get seriously hot very shortly.
I pour several cups of boiling water into the chamber which of course exits at the muzzle. Then it is back to the cleaning cradle where I run a couple of dry patches though the barrel. They will come out incredibly filthy and may even show some metal particles on them. I repeat this process (no soap after the first application) and patching process until I'm out of water. If I think the barrel needs more, I set another pot or two boiling and maybe more soap.
The flesh burning heat dries the barrel quickly. When the patches came out clean I am done. In fact the patches may come out slightly brown—that is surface rust from the bore, stainless or not. This is a pretty good sign you are really clean and this bit of surface rust will not hurt because you are about to oil the barrel down.
While the barrel is now screaming hot and heat dried of moisture I run a couple of well-oiled patches through the chamber and bore and wipe the exterior of the action and the barrel with an oiled rag—the hot metal sucks it up big time—good!
During the hot water wash you may get the trigger wet—no big deal! If you do then get it plenty hot with the boiling water while you are flushing the bore so it too will heat up and quickly dry from the heat, then simply lube it. After cooling may be the time to adjust the trigger per factory instructions, if needed.
Once you are happy with your results and after oiling, take a dry rag and wipe the receiver portion of the rifle that actually contacts the stock free of any excess oil and the rifle is ready for reassembly. Now is when you might use the inch-pound torque wrench if you have one to install the action screws—more on that later.
Okay, what has happened here? After the initial solvent cleaning theoretically the big crud is out of the bore from the factory shooting. Then the dish soap helps loosen some other crud and attacks any machine or factory swab oils. The hot water is basically a very safe way to seriously heat and expand the microscopic pores of the steel and allow the dry patching to get rid of the fine junk and remaining old machine oil. This is not rocket science—but it works as you will see from the patches you get.
Lubricate your bolt for long life
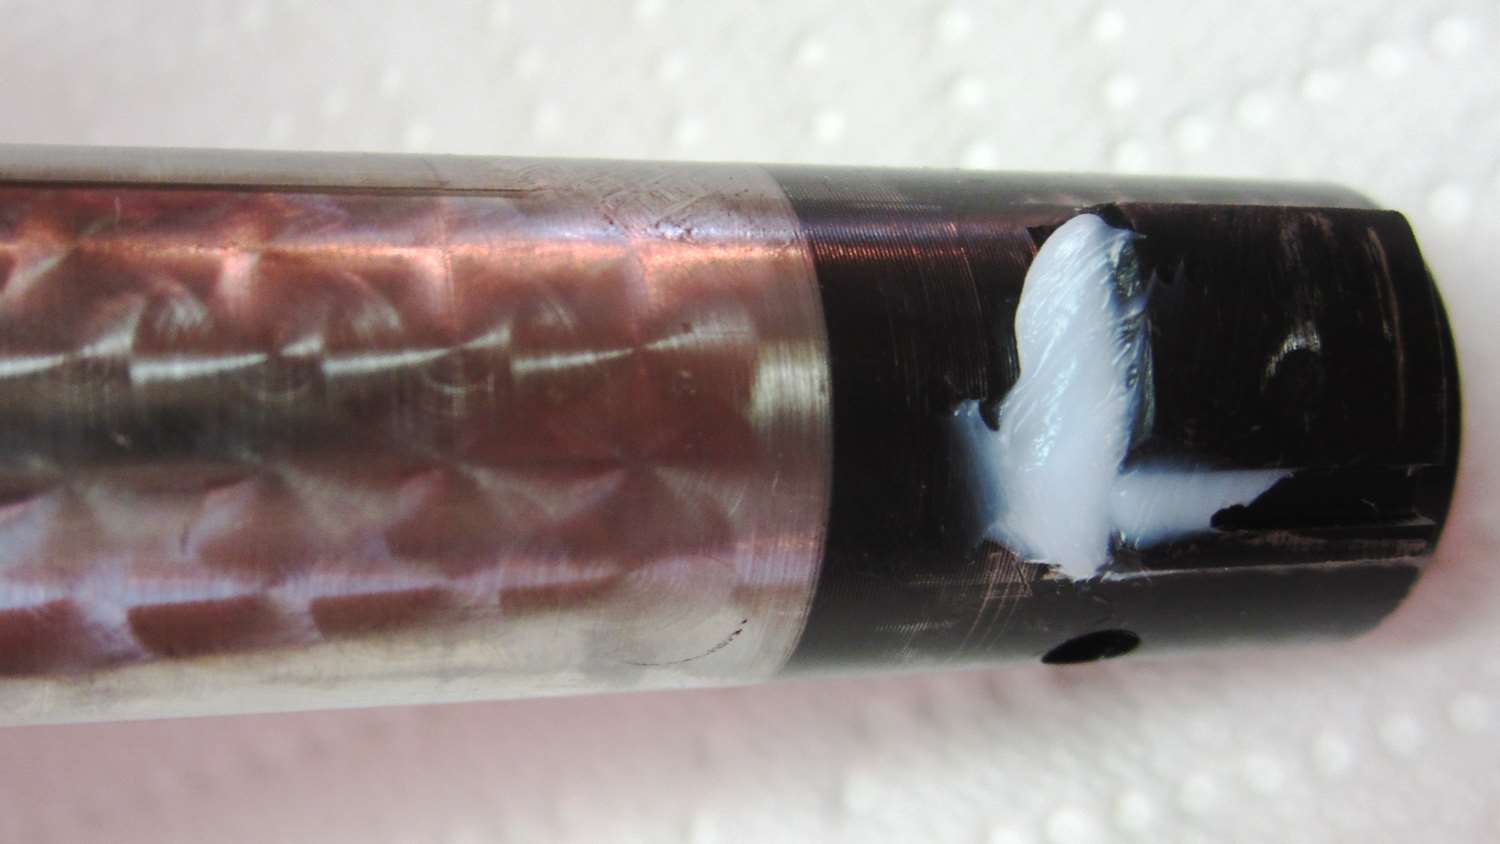
Always apply plenty of grease (not oil) to the bolt behind the locking lugs. Opening and closing a dry bolt can quickly wear the locking lugs microscopically and may even cause galling, especially true when chambering ammunition. Wear or galling in this critical area can adversely affect accuracy in as few as a couple dozen bolt functions—especially if ammunition is being chambered. Grease also makes opening and closing the bolt easier. In extremely cold weather use a film of light-weight oil instead of grease.
Torque for ultimate accuracy
An inch-pound torque wrench can literally help you dial in accuracy for your particular load (honest) by using just the action screws. This is a trick top target shooters have known for decades and now is common with many sniper teams. I think of a rifle barrel as just a tuning fork with a hole in it so when you adjust the tiny vibrations that occur during firing you can affect bullet strike if you have a decent free floating barrel.
The screws act pretty much the same as muzzle mounted so-called barrel tuners. I have found that generally in my case, Model 700 action screws come from the factory around 25-30 inch-pounds. In my adjustments, many times I have taken them up to 60 inch-pounds maximum (never foot-pounds) and accuracy went from 1 ½ inches at 100 yards, to sometimes ¼ inch with the same factory ammunition; true dat!
This task is best accomplished through the use of hex head action screws as using a flat blade screwdriver tip can slip or pop out of the slot and you can scratch the rifle or you may break the screwdriver tip. Inch-pound torque wrenches can be found in some automotive stores and some hardware stores (for about $20-$40, saving you a bunch of load testing ammunition costs). Of course most of the firearm catalog outlets have them. If you do much shooting, this is a key low cost piece of equipment that can save you a lot of handloading and ammunition waste.
Abrasive coated bullets
I am not a fan of using this process to try to "lap" a barrel, as it dumps most of the abrasion at the throat end of the barrel—and that generally is the first and fastest part of the barrel to wear out anyway. If you fire very little over the years then a further break in with these may help "polish" your bore some if that is a big deal for you—sure isn't for me and my rifles—generally any of my misses are my fault. I would definitely not use these products if you use the rifle a lot as this will quickly advance barrel wear.
At the range I remove the well-greased bolt and run a patch or two moistened (not soaked) with automotive brake and electric motor cleaner (not engine cleaner) through the barrel followed by a couple of dry patches. This removes any residual oil and cleaner and saves firing several fouling rounds.
Break in and voodoo break in methods
The barrel break in theory advanced by many “gun experts” is to fire several single shots followed with cleaning after each shot, then progressing with three rounds, and then a few more interspaced with cleaning to break in a barrel. I think this is just jive.
The factory has already fired several rounds quickly one right after the other—your "sort of clean" new barrel—remember? The previous covered cleaning process does all I need to prepare the barrel-and again my guns shoot "lights out" accurately—far better than I can hold. So at the range my new rifle is ready for 60 rounds or more as far as I am concerned before I clean it. But remember to do a decent cleaning and re-lubing job when you get home.
Photos by Jim Shults.
Most Popular