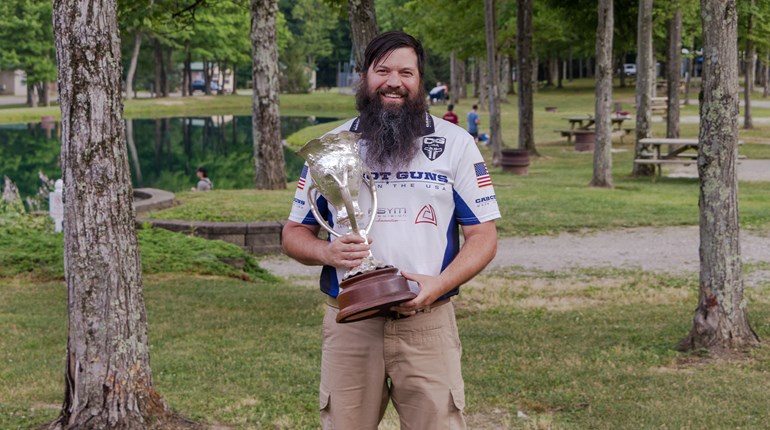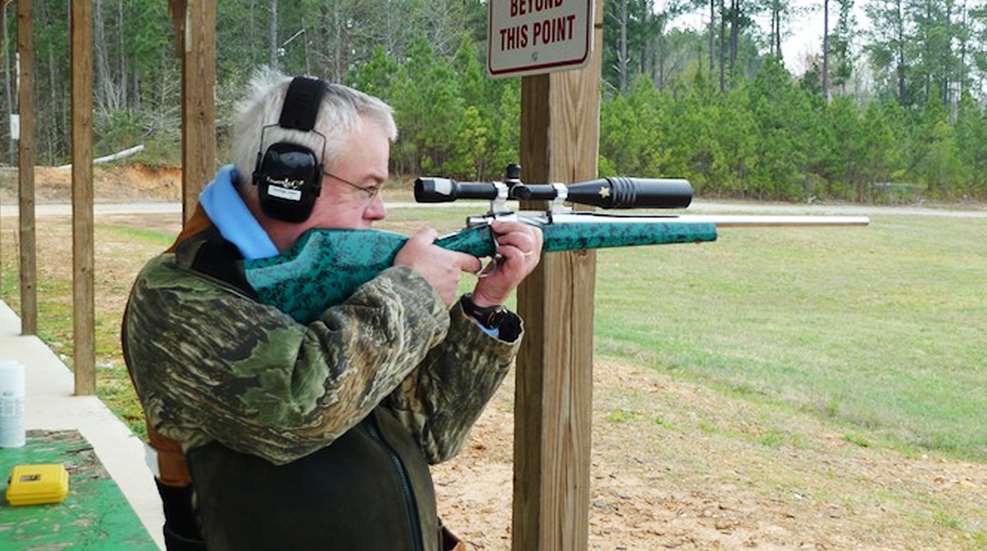
Editor’s note: The 1984 and 1985 NRA National Silhouette Championships included Championship Clinics that offered participants a chance to receive the most up-to-date silhouette shooting techniques available at the time. The clinic presentations were made by an impressive group of silhouette shooting champions and leaders of the time, including the 1984 National High Power Rifle Silhouette Champion, Jim Feren. Feren was also a two-time Coors National Schuetzenfest Champion, an event that placed great emphasis on offhand shooting. Fortunately for us, NRA staff transcribed the clinic presentations. The information included in these transcriptions is timeless. Read this excerpt from Mr. Feren’s contribution to the program below.
Silhouette Fundamentals: Position
—Jim Feren
I consider myself a little bit of an underdog, but nevertheless, hopefully even an underdog—someone who has come up through the ranks—can pass a few things on to the next generation.
My topic is “Silhouette Fundamentals.” I don’t consider myself a true authority. Perhaps, like myself, you’re a self-taught shooter. While I never have received any formal rifle training, on the other hand—I have never been destroyed by the kind of poor training that tells a shooter exactly how to do something that does not work out.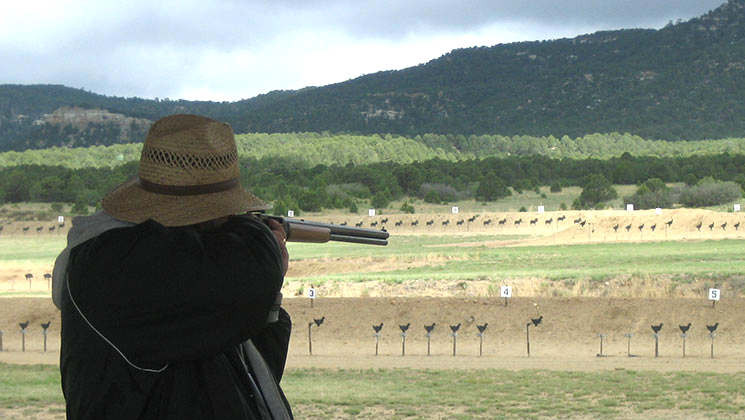
I believe that any improvement a shooter makes involves the process of self-examination. To improve, you must look at what you are doing. What are you doing right? What are you doing wrong? Only through close examination of these questions can you improve.
You will use that process as you examine what I say. Examine my views and compare them with what you do. Socrates said, “The unexamined life is not worth living.” That may be extreme, but I believe the only way to improve in shooting is to examine closely the things we do.
There are many important fundamentals of shooting. I would like to discuss one I think is among the most important: Position.
A high power shooter once said to me, “You know, out of all the things that go into shooting, I think position is over 50 percent of the game. As a matter of fact, I would go as far as to say that it’s 70 to 90 percent.” You might think that sounds strange, but think about it for a moment. If you have a solid position, what happens? The sight picture becomes better, and trigger control becomes easier.
How do you find the best position to enable you to achieve the steadiest hold? What is the best position? The question of position gets interesting when you begin to observe people up and down the line. A fellow once told me that he could tell where someone “came from” by their position. He could pick the shooter who came from a high power school of shooting, smallbore background, or silhouette experience by the way they stood. While I’m not an authority on the field, I do have the distinct impression that certain schools teach people to shoot offhand in certain prescribed ways.
The issue is even more complicated when we go back into the history of rifle shooting in America. In the 1880s the Schutzen rifle shooter was king. They were competing for thousands of dollars in prizes via offhand shooting. Some of you may recognize the name Harry M. Pope. He was quite an authority in his field and prescribed an exact offhand position for shooters. To illustrate, I’d like to quote from a publication called Single Shot Rifles which refers to an article by Mr. Pope that stated:
… in the offhand position, this will vary somewhat with individuals, but it must be perfectly natural, easy and free from muscular strain, the weight should be evenly distributed on both legs. They should be straight and not too far apart. Legs spread too far means muscular strain while the proper position of bones should carry the weight. As the writer stands, the feet are at an angle of about 60 degrees, the left foot about 50 degrees with the line of fire, the right a little back or square with the line of fire, the heels seven inches apart. Don’t straddle. In getting into a shooting position, it is extremely important that one gets set so that a natural easy position directs the rifle to the bullseye. Therefore in aiming, let the rifle come to a natural position.
That information disagrees with a lot that we believe, but it comes from one of the authorities out of the 1880s, and no one would dispute the fact that those people certainly knew how to shoot offhand.
At the 1985 California State Championship, a competitor jokingly came up to me after observing my shooting and said, “My God! The National Champion doesn’t know how to stand correctly.” My position has always been called weird so the question remains, what position is the best? There is an answer. Quite simply, no position is best. There is no exact position for everyone. Harry Pope can give you the directions for what it took to shoot the game in the 1880s, but that position will not fit everyone. To try to get a group of people into a set or exact position, in my opinion, is a big mistake. At best, it will be only adequate for the majority and perhaps right only for a minority of the group.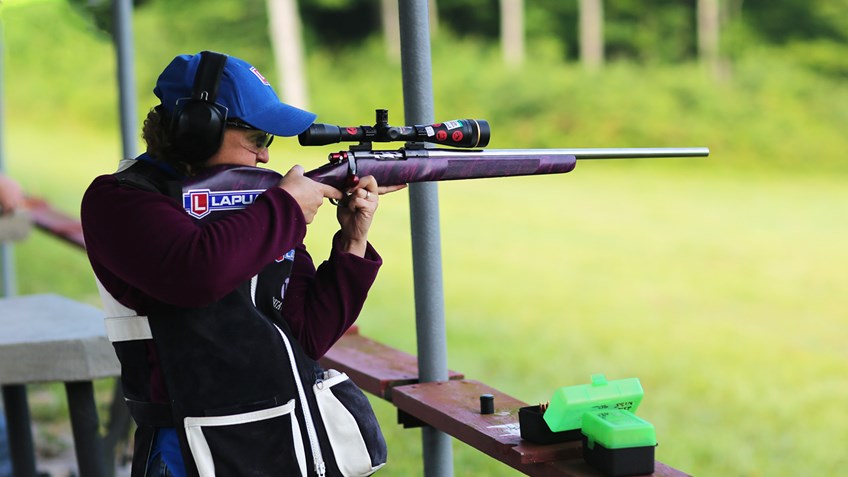
The position must be individualized for each shooter. The reasons are simple. Each shooter’s position will change according to individual skeletal structure, physical strength, body build, hand size and other variables. In the end, after all the suggestions are given, whether they be from Harry Pope, the smallbore shooting schools, or the high power ones, shooters must find their own correct and best position.
I believe that one of the most neglected aspects of the sport is building a position. Building a position takes time. There are many methods that can be used. I would like to suggest what I believe to be one of the best. Some of you may say, “What’s the big deal? A person doesn’t have to learn how to stand.” Not so! Standing is one thing; standing steady is a completely different thing. You have to use muscles to stand steady. Standing steady is built on the principal of skeletal support. Whenever you can get a bone to support something rather than a muscle, you are better off. Also, you must build muscle control and muscle tone. How well and how long you can hold the position also depends upon balance. Obviously if a shooter sets up lopsided with the gun way out to one side and halfway off the shoulder, there is going to be a tilt to begin with which won’t be a very stable hold for very long.
There are a lot of variables involved. To begin, we can talk about the distance between the feet. Harry Pope suggested seven inches. I disagree, but many of you feel that distance is perfect. We also have to look at the angle of the feet in relationship to the target, the angle of each foot to the body, the angle or twist of the hip, and the height of each hip. Some people shoot in the hip-up position like they did in the Schutzen days, but that style has fallen out of vogue. The height of the right elbow makes a difference. When you raise your right elbow, you’ll sometimes find the gun going to the left. That can be a neat way to have the gun go left especially if you are hanging on the right side of the target. The position of the hand on the pistol grip can determine how you pull the trigger. The position of the trigger finger, the position of the supporting left are or forearm, and the position of the head on the cheekpiece are other variables.
In the Schutzen days, they believed that you supported the rifle offhand by three basic things: the left forearm if you are right-handed, the butt coming back into your shoulder and the hand around the pistol grip, and something a lot of people don’t even consider today, the pressure of the cheek on the cheekpiece. Along with our already long list of variables, consider the position of the butt plate on the inside of the shoulder, the cant of the rifle, if any, and the pressure of the stock against the shoulder. How tightly do you squeeze that pistol grip? What effect does that have on where the bullet goes? Which way does the pressure go?
Balance is also important. You should be balanced and not leaning forward. Distribution of weight between your feet is another very controversial point. Harry Pope says that it should be evenly distributed on both feet, but many silhouette shooters shoot with their weight on the front foot. Breathing is also important. Are you sure to take an adequate breath before coming onto the target? Do you stop that breath before you are really on target and thereby diminish your actual target time not by the steadiness of your hold but by the capacity of your lungs?
That’s quite a list of variables. You have to find out what works for you. The self-examination process, hopefully, has been going on for a long time. If it hasn’t, you have to define the variables and start working.
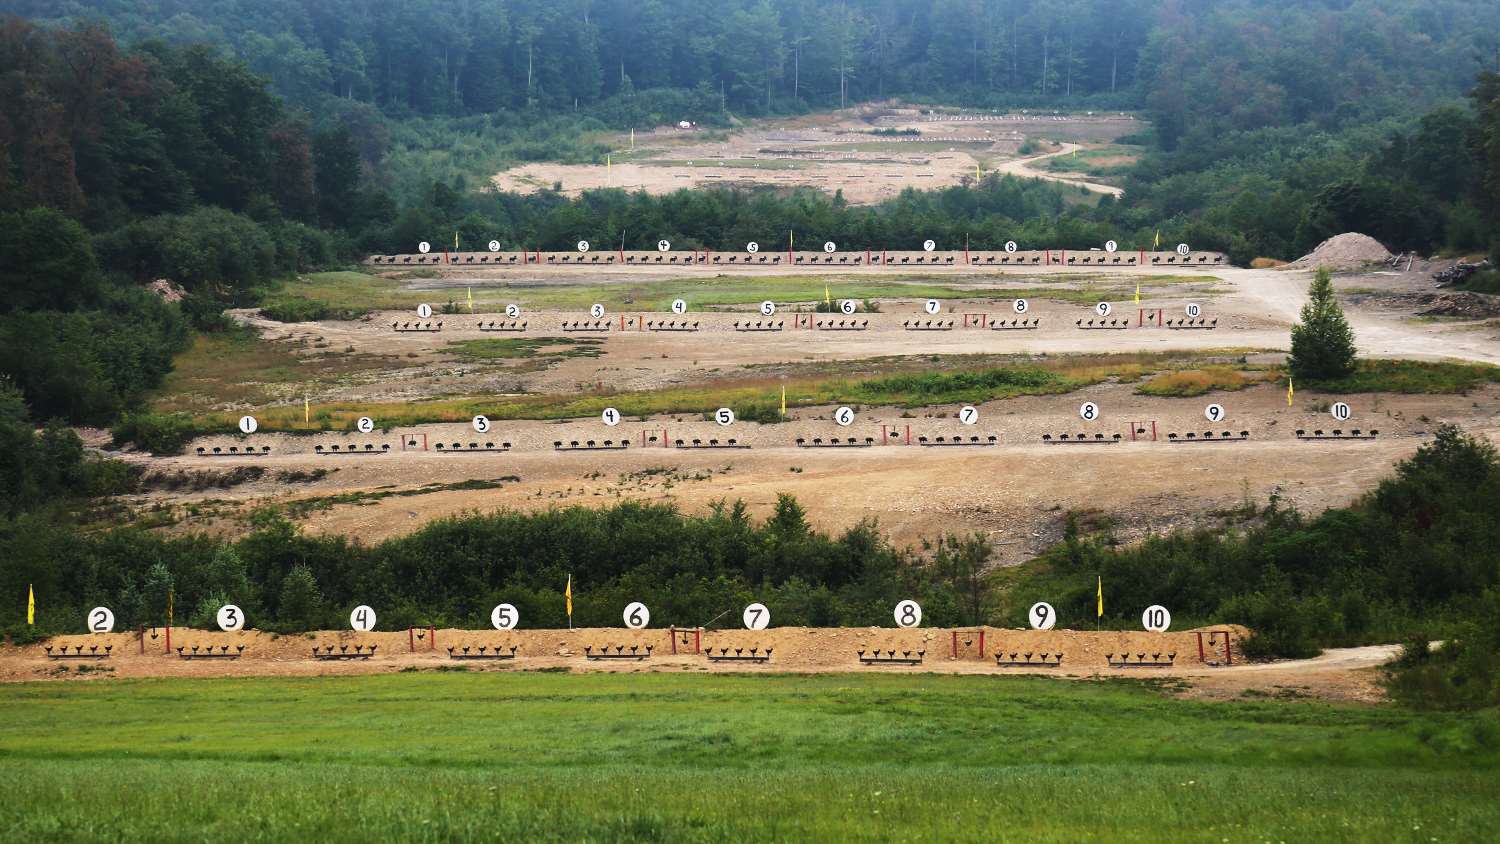
Let’s go back to position building. How do you do it? Here are some suggestions that can lead to the process of self-examination and building a good position. First, set up a dry fire range with reduced targets, a special short-focus scope, or whatever it takes. Build your dry fire range indoors out of the wind. We don’t want the wind moving you around when you are building your position. It doesn’t make any difference if you are indoors while your target is outdoors. Set up all the equipment you usually use. Set your timer for 2 minutes 45 seconds, and maintain the exact same position each time you dry fire. Pay attention to what you are doing. Instead of loading, put a mark on a reduced silhouette to record the break after each shot you dry fire. When you record each break, you will be maintaining a realistic time frame because placing a dot on the target takes about the same amount of time as putting a cartridge into the rifle.
Dry fire live shots. Repeat the process two, three or four times to establish an experimental control for later comparison. Your average is now recorded. It should translate into a score slightly above what you actually shoot in a match under less than ideal conditions. Make sure to follow through when you dry fire. Make sure the sights don’t rip off the target the minute you dry fire because your results will be invalid, and you will reinforce a bad habit.
Now that you have your control, change only one variable at a time. As you dry fire, you will begin to identify certain problems. Maybe you can’t hold vertically. Maybe you can’t hold horizontally. Begin to think about what’s necessary to correct the problem. Change one variable and only one variable at a time. Repeat the process and dry fire all over again several times. If you start to get tired, go right back to the way you used to do it to see if fatigue is creeping into the experiment.
You will find that most changes will not help. Some changes will result in poorer scores, but once in a while, you are going to come up with the one thing that’s going to build a better position. You have identified it because you have examined what you are doing. You have found the variable that was causing a problem, corrected it, and built a better position which translates into higher scores.
After you have spent several hours over a number of days dry firing and experimenting, go off to the range on a very calm day. Don’t fool with the wind yet; pick a calm day to see what effect the changes you have made in your position have on the target. Use a freshly painted chicken gong, some type of reduced target or a paper target. The essential thing is to be able to record your hits on the target. Note the impact of each shot. Try to figure out why the bullet impacts where it does. Why is the key word. This is a self-examination process. If it did not go exactly where you broke the trigger, find out why. Through the self-examination process, you are learning about how you shoot and why a shot goes where it does. This process leads to shooter improvement and position improvement.
There is an old saying that practice makes perfect. I couldn’t disagree more. I just don’t buy it. The statement should be, “Perfect practice makes perfect.” In other words, shooters who don’t examine what they are doing continually practice making the same identical errors. Time and time again, they will make errors that they’re not even aware of, and they won’t know why they’re missing targets. They are actually training themselves to do things incorrectly and reinforcing bad habits which makes them harder and harder to correct.
A shooter who examines why a shot goes right or why a shot goes wrong will learn to repeat the perfect shot and to avoid the bad shot. In the end, he will only have good shots and become a better shooter.
Learn more about silhouette: competitions.nra.org/how-to-get-started/silhouette-competition.aspx
Lead image courtesy of Benton Gun Club


