Here are four no-cost setup tricks that will improve the concentricity of your loaded ammo.
Cartridge cases and reloading dies all have centers. The trick is getting the centers to agree. When they do, then that’s an asset to “concentricity,” and that’s attaining a major goal in the process of producing better ammunition. Circles within circles, all sharing the same center: case head, case body and case neck. Ultimately, it’s also the rifle chamber, rifle bore and bullet, and the idea is to get the bullet tip in a loaded round looking straight down the center of the barrel.
All that starts on the loading bench.
Think about a part that’s under pressure and moveable—such as a cartridge case being sized or a bullet being seated, that moves toward a path of least resistance. If all of the associated tooling is “straight,” and the case itself is uniform (wall thicknesses primarily), then the result is going to be resoudingly “straight.”
Given that tolerance gaps and misalignments exist, taking steps to help contrary centers come closer together comes from providing some free-play in the apparatus. I call it “free-floating.” Free-floating can help in two ways. One is to build-in float within the tool, and another is to create float and then use that to better center a tool. Let me explain.
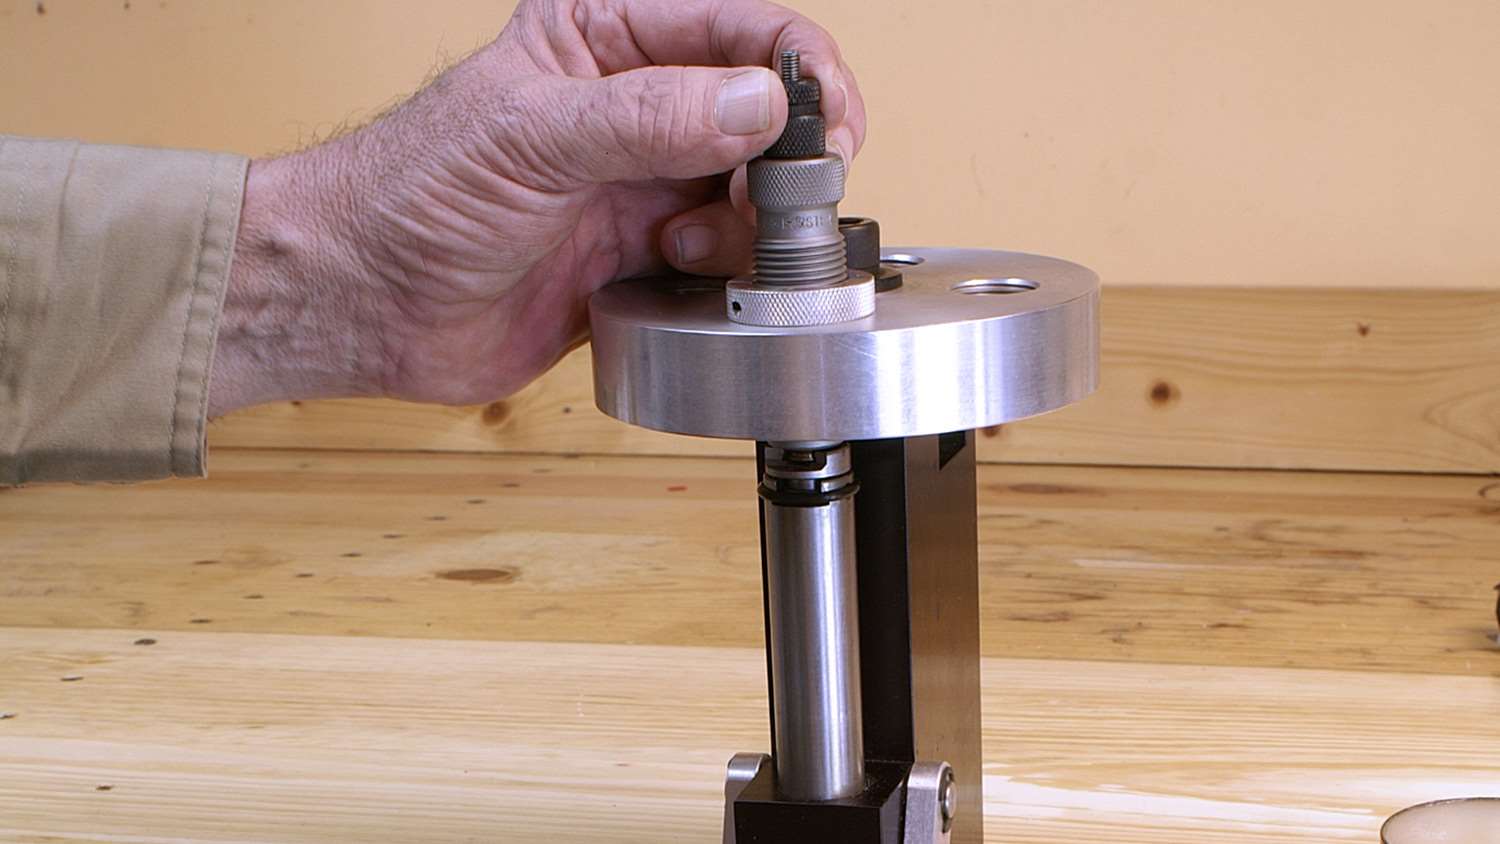
1. Shellholder. Reloading presses with conventional shellholder arrangements use a spring clip to retain the shellholder in its slot. Remove it. It cocks the shellholder at an angle.

Now get to a (real) hardware store and get an O-ring. The O-ring goes around and into the slot previously occupied by the clip. To install the shellholder just roll the ring down, slide in the holder and the O-ring will pop back up to block the shellholder’s exit. Normally, the right size is 7/8 inch outside diameter, 11/16 inside diameter and 3/32 thickness.
With the clip gone, the shellholder sits flat, as it should, and since the shellholder is free to move it also allows some “wiggle room” so the cartridge case can center itself in the die as it enters the die. This honestly makes a positive difference, especially it seems in bullet seating.
Note: For these next “tricks,” choose a case that represents your “best,” one that has the most consistent neck wall thickness.
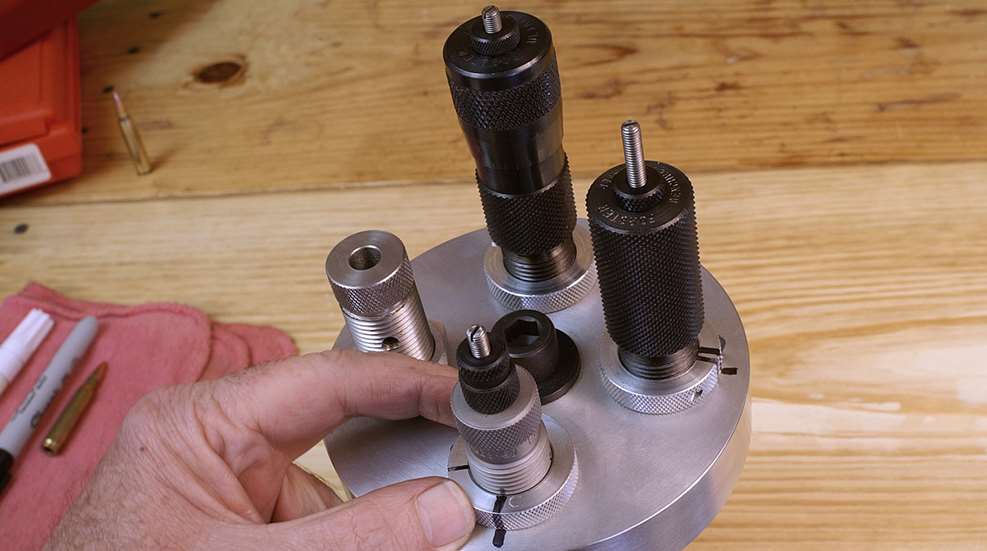
2. Sizing Die Lock Ring. Speaking of “wiggle room,” there’s a tad amount too much of that in a 7/8-14 thread. That’s pretty coarse. Taking up the play created by thread-to-thread gaps results in “straighter” die installation.
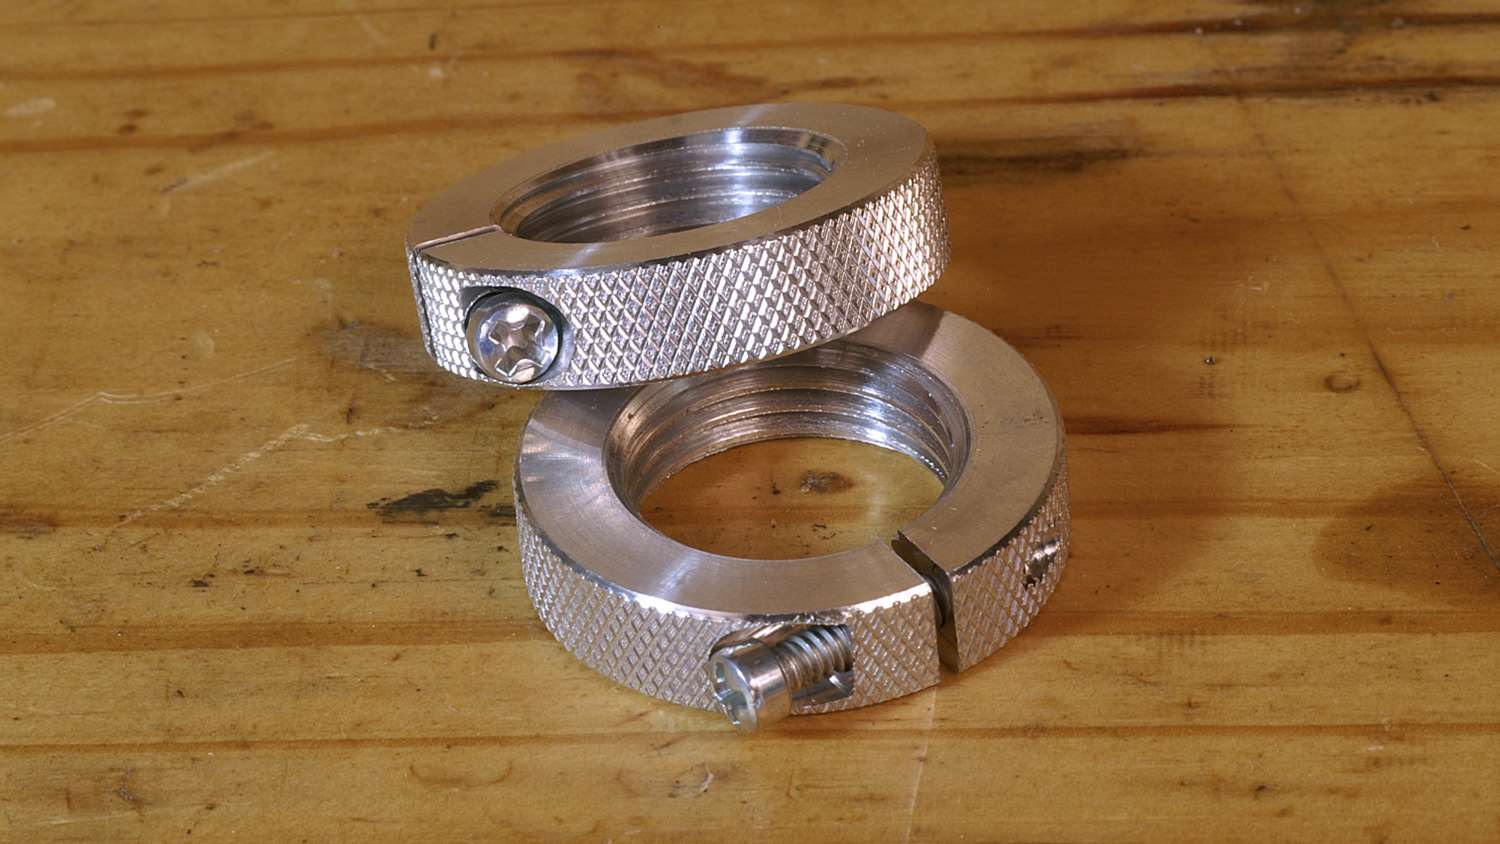
Always secure a die-body locking ring when there is a case inside the die, and with the press ram in its fully upward position (press handle all the way down). This little bit of pressure helps bring the die into better alignment with the ram. It also makes the die very difficult to remove after snugging down the lock ring. Just get stout on it, and, after initial removal, subsequent re-fittings are easy. I use a “strap wrench” (plumbing supply and auto parts stores will have one). “Channel-Lock” pliers also work, but result in cosmetic, though not real, damage. Lock rings with wrench-flats are the bomb.
And before removing the die after the snug-up step, make an indexing mark that runs from the die body to the die lock ring to the press top. That’s a simple way to return to “zero,” and also to know if anything got out of kilter. I like to use a paint marker.
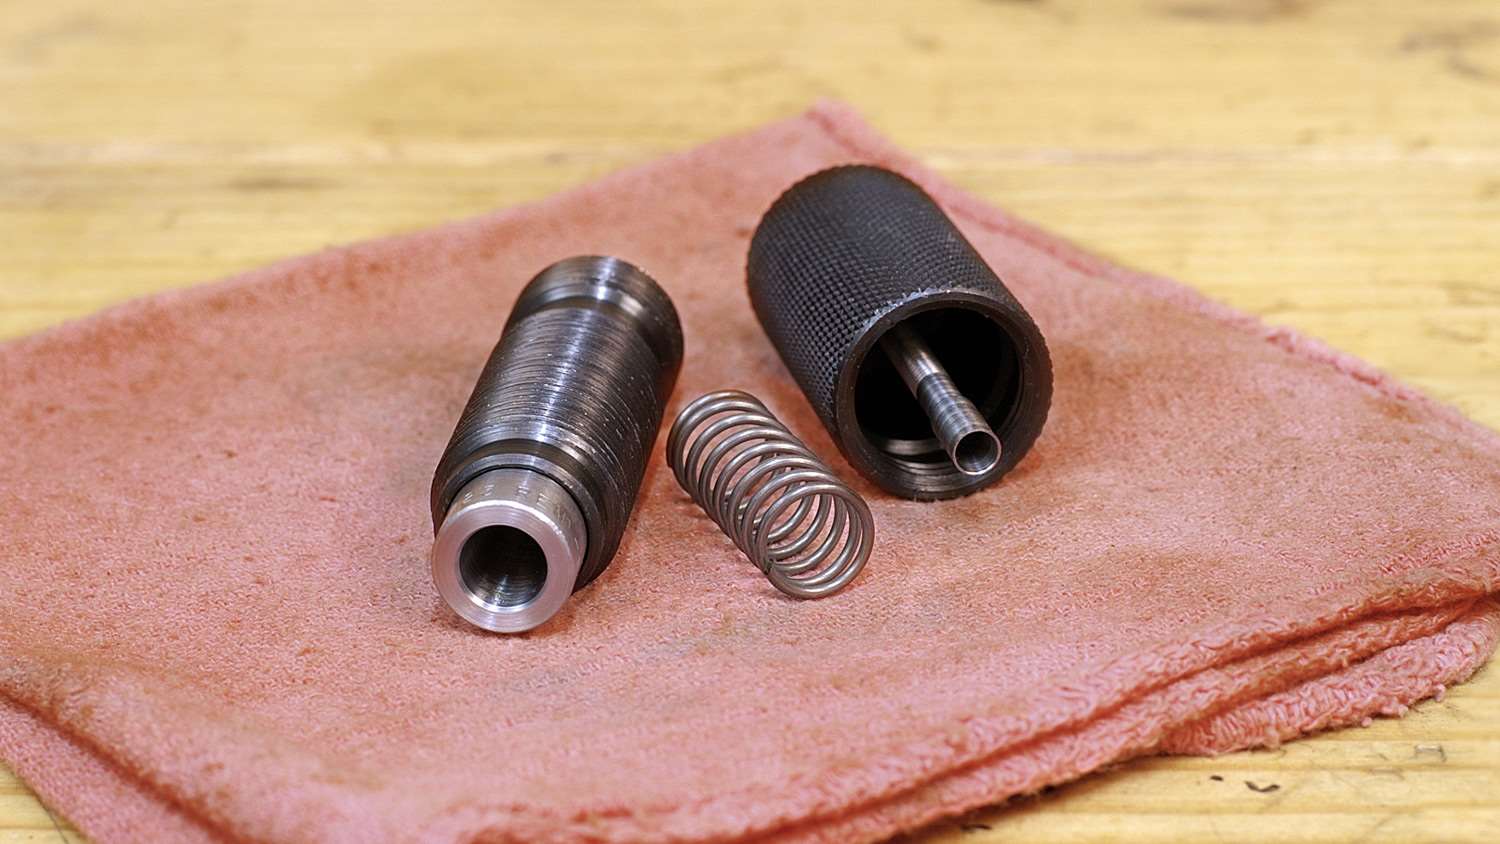
3. Sizing Button (expander) / decapping assembly. This is the next step after the “lock-ring step.” To get the sizing button in a sizing die aligned on center, start with the sizing die threaded into the press. Then, loosen the decapping-stem lock nut and run a case fully up (press handle fully down).
Next, slowly retract the handle back upward until you feel the sizing button enter and lodge inside the case neck. Now, put just a little pressure back in the “up” direction (push gently down on the press handle) and then tighten the decapping-stem lock ring.
This really makes a difference, by my notes. And the little directional change is key.
4. Bullet Seater. Follow the same die-body-lock-ring trick I’ve gone on about, after a bullet has been seated (and also add the index mark). Now, there’s another that may or may not matter, depending on the engineering of your sizing die.
The spring-loaded “sleeve”-type seaters (like the Redding Competition or Forster Benchrest) are already in alignment by the way they’re built, so the seating stem itself can’t be influenced. The die body though can get some help from the lock-ring trick.

If, however, yours is the style where the bullet-seating plug is holding rigidly down inside the seating die much in the same as the expander in a sizing die, that same sort of process as described for centering an expander can work wonders. Loosen the seating stem lock ring, seat a bullet and keep the press handle down while you lock the seating-stem.
Although they’re more expensive, investing in a sleeve-style seating die will certainly help the quality of your loaded rounds. The reason for the sleeve is that it accepts the full length of the case prior to running it up fully to take the bullet. Thus, the case is fully supported against any movement that might get a bullet started off-line.
Here are a few bonus pointers for blissful tooling and process improvements.
Check the bullet seating-stem depth. This is not nearly as much issue now as it once was, but do make sure that the point of the longest bullet you use is not bottoming out inside the seating-stem plug.

The area inside the stem should be touching only at a point on the bullet nose cone, and the farther down the better. If not, then the bullet is free to tilt askew as it’s being seated into the case mouth. The solution: A good local machinist, or give a call to the die manufacturer (most I know have adjusted their newer tooling for the super-long bullets used now).
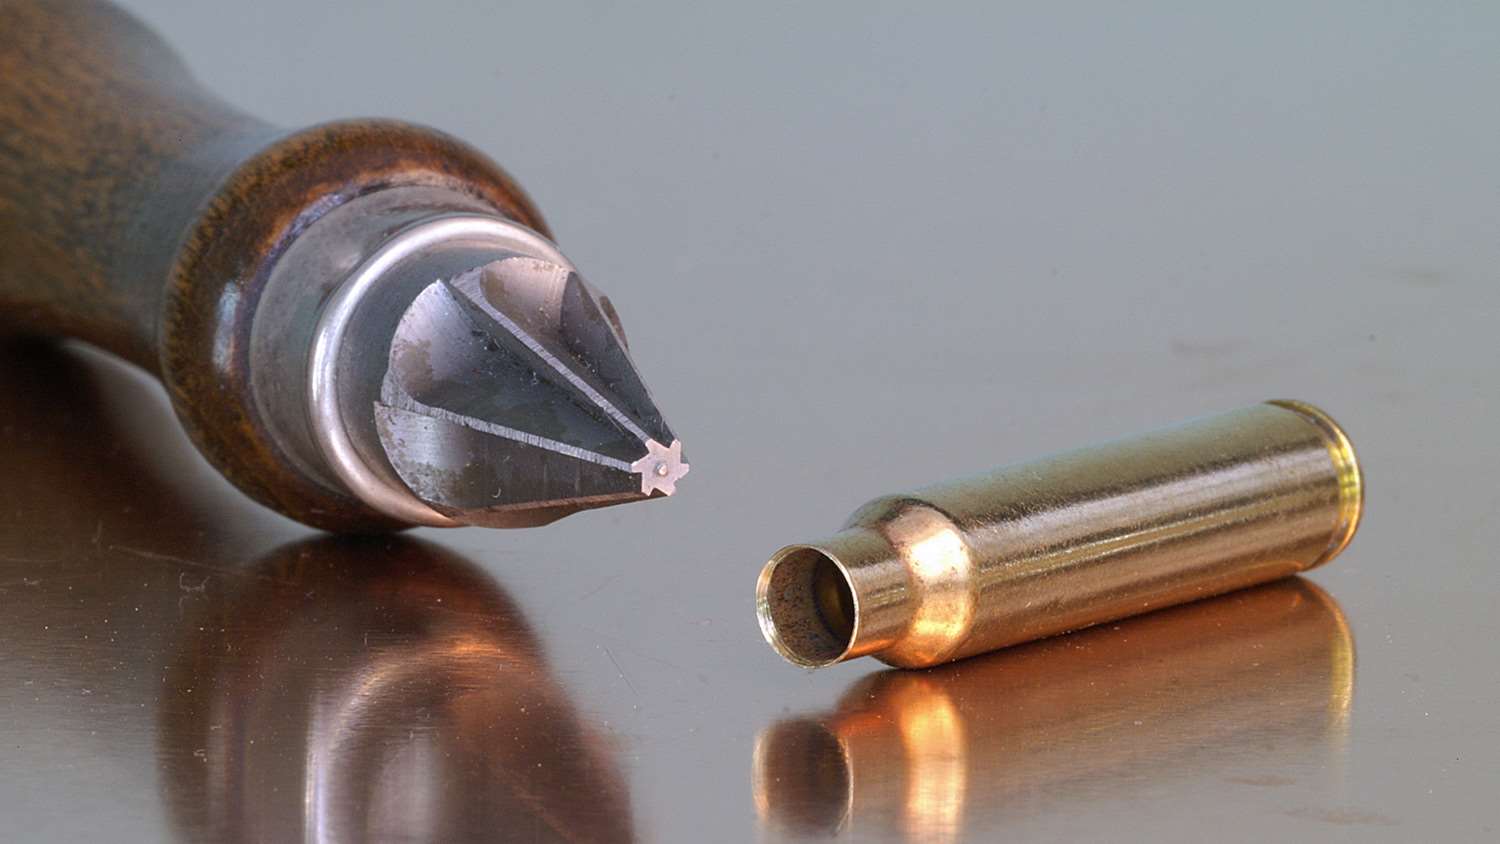
Relax the inside case mouth chamfer. Related to getting a bullet started straight and easy, replace an “old-standard” 45-degree inside chamfer tool with something in the 20-degree-angle range. Big difference! And there’s less jacket damage, especially with thinner-skinned match bullets.
Polish the sizing button. Even if it’s perfectly the right size, running this appliance against 600-grit oiled emery cloth, or using a paste abrasive (such as Flitz) so it gets shiny and slicked up makes a huge difference in how well it works, and that’s from lessening its ill effects (which of course after getting it centered all come from snag and grab).
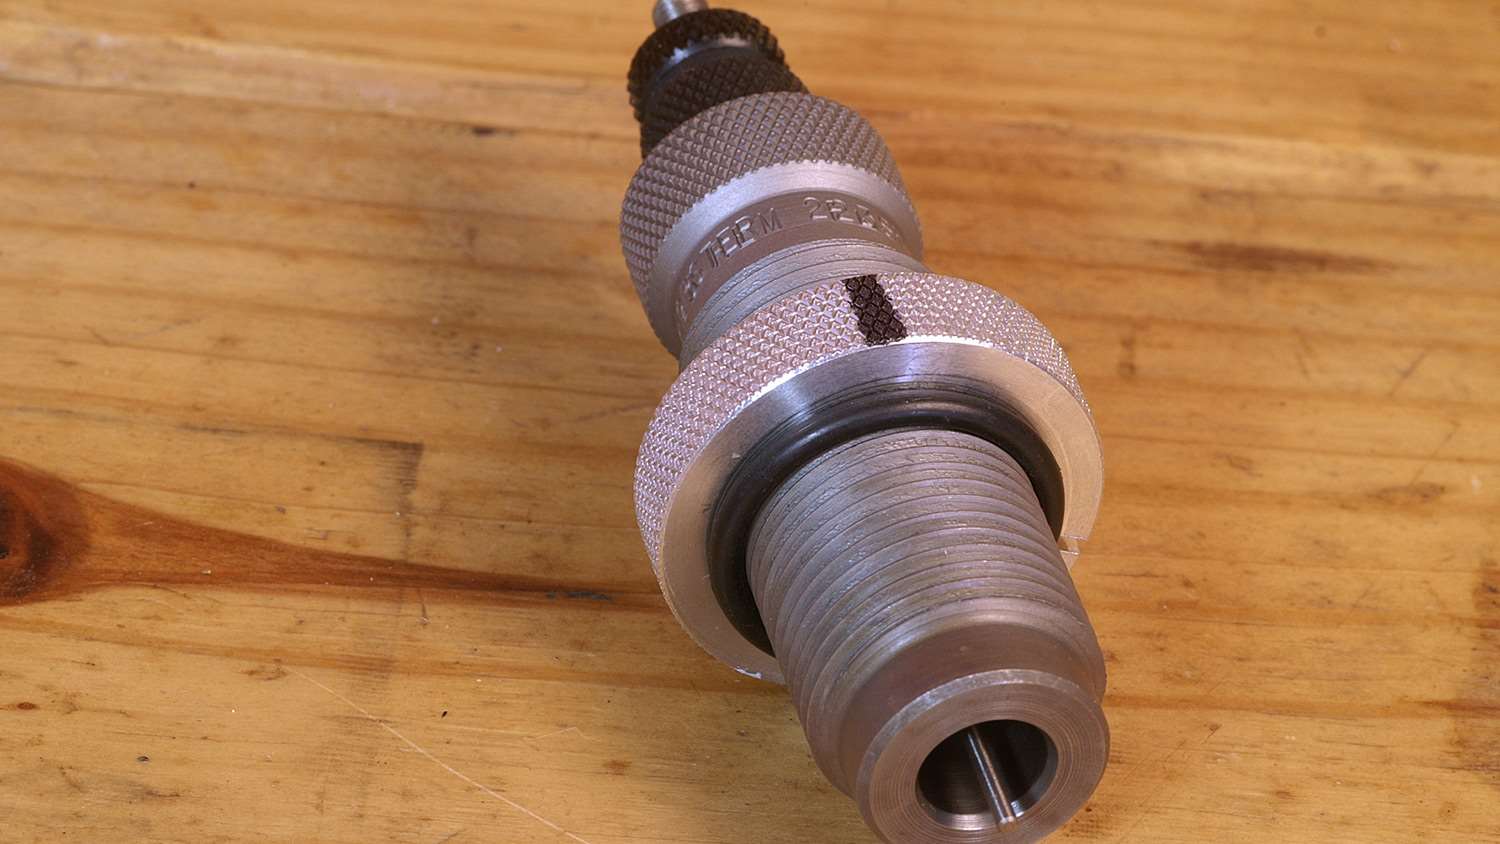
Lock ring O-rings. Here’s another trick: Install an O-ring under the die body locking ring. Do this for sizers and seaters. This allows some free movement in helping a case center as it’s entering the die because the die itself is free to flex a little.
This design has been standard equipment on Lee-brand dies for decades. And no, the die will not loosen and work its way out of whack. But, still, if you do this one, most definitely index-mark the die ring to the die body and then the ring to the press top, as suggested. That’s also how you know it’s been reinstalled on point.
The O-ring size is ⅞ inch inside diameter and a thickness of ⅛ inch.
It’s an optional means to attain improved alignment. Since I follow my own advice that is provided in this article, I don’t use the O-rings.
One last thing: Never touch the die body itself to thread in or out any die! Hold only the lock ring. That is true for any and all dies, O-rings or not. The reason is really simple: If the die body rotates even a tiny bit, guess who has to set the dang thing up again?
Photos by Glen Zediker
See more:
- High-Performance High-Power Rifle Ammo: 6 Things That (Really) Matter
- Climbing The High Power Ladder, Part 1: Stepping Past Marksman
- How David Tubb Made Me A Better High Power Rifle Shooter
- Vertical Dispersion: Is It Your Ammo, or Something Else?
- Rifle Accuracy, Load Development and “The Natural”
- Handloading Tips: Improving Rifle Accuracy, Loading Efficiency and Safety
- 5 Ways To Quickly Improve Your High Power Rifle Scores
Most Popular