“Bulletproofing” is a term Steve Kalamen used to describe the process of designing, building and running stages so they survive an entire match. Failure in any one of these areas can prevent a stage from lasting through the event. This article focuses on the second phase of that process: stage construction.
FROM PAPER TO REALITY
Constructing a stage of fire can be straightforward when everything is clearly specified. We have all worked setups where the course is fully documented: target locations and heights are defined, props are listed and instructions are precise. Classifier stages are a good example—follow the directions and the stage comes together.
At the other extreme are courses of fire that are complex, impractical or occasionally impossible. Many of us have been handed stage diagrams that cannot be built with the materials available, on the bay assigned or both. In those cases, the Match Director (MD) is rarely interested in the problems—only in having a safe, functional stage ready when the first shooter arrives.
How the setup and construction crew handles this challenge can make or break a match. You can have beautiful bays, creative stages and a great prize table, but without durable, reliable stages, the match will be miserable for both staff and competitors. The goal of this article is to give you practical guidance to make stages survive without relying on luck or last-minute heroics.
DETAILS MATTER
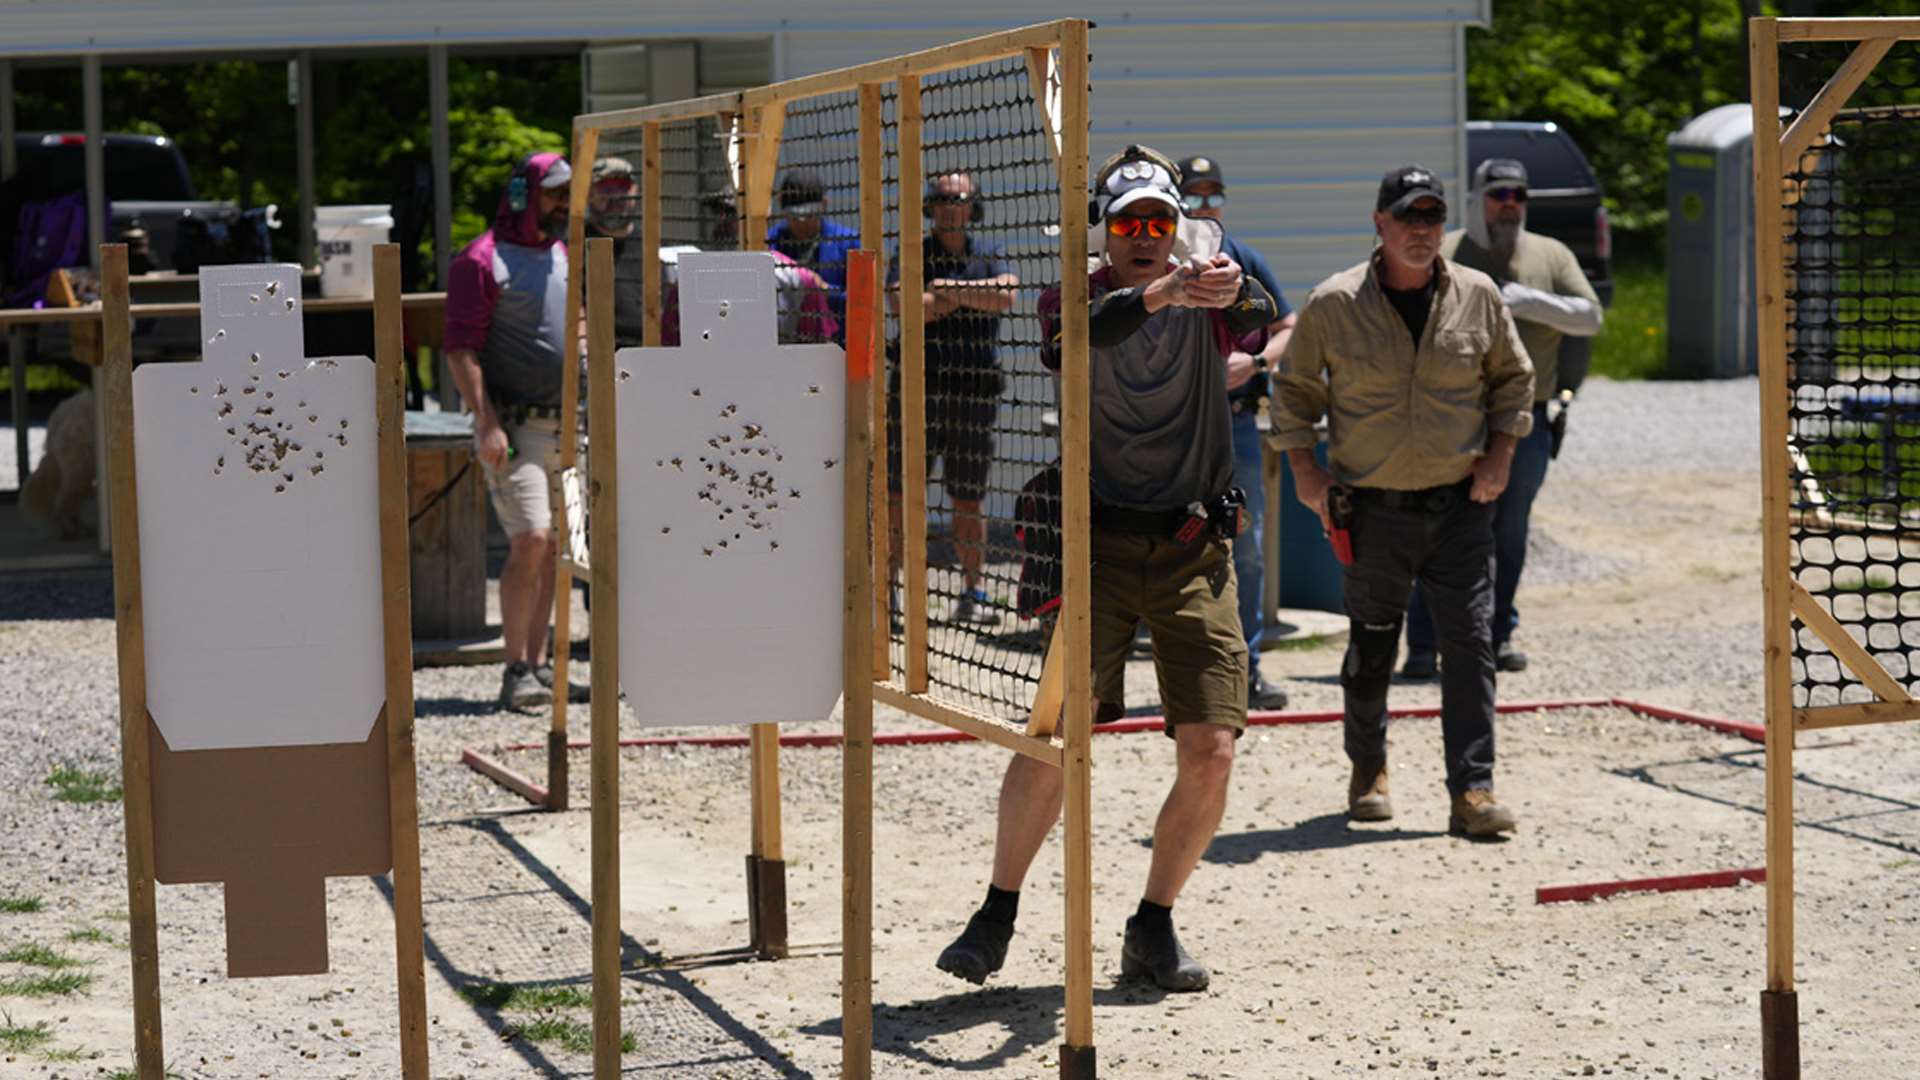
Stage construction is a detail-oriented task. In the past, it might have been acceptable to throw up a few walls, draw lines on the ground, and place steel in the general area. That no longer works. Competitors are more skilled, divisions offer multiple shooting options and everyone is looking for an advantage. The stage must present the same challenge to every competitor.
We owe that consistency to both shooters and range staff. Losing a stage because it does not hold together or fails mechanically is a waste of time, effort and credibility.
WALLS, ALIGNMENT AND REFERENCES
Walls should be as square and plumb as possible. This matters whenever a wall is used as a reference for target placement, shooting areas or ports. A skewed wall can change target exposure depending on the shooter’s height or position.
I once worked a stage where the edge of a wall was used as a reference for a target array. Because the wall was square and plumb, target exposure was consistent for shooters of different heights. Had the wall been tilted or unstable, the exposed scoring area could have varied—and scoring wall strikes or shoot-throughs would have become inconsistent and contentious.
Slanted or unstable walls create problems not just for fairness, but also for safety and officiating.
SEE-THROUGH WALLS AND HARD COVER
With the increasing use of see-through walls, it is critical to understand how walls interact with target engagement. In many cases, you must add an opaque vision barrier to prevent competitors from engaging targets too early by firing through what is designated as hard cover.
Common materials include coroplast, thin plywood or Masonite painted black. These materials will not stop a bullet, but they will provide clear evidence of a bullet passing through the wall. USPSA Rule 4.1.4.1 prevents the use of full cardboard targets solely as hard cover. Using no-shoots for this purpose is strongly discouraged unless they are properly mounted and presented as legal targets.
ACCOUNTING FOR SHOOTER HEIGHT
Competitors come in all sizes. Poor planning can result in shooting positions where shorter competitors cannot see targets at all. These issues must be identified and corrected before the match begins.
A well-written match booklet should clearly state that all walls and barricades are hard cover extending from the ground to their built height or, if taller than 5'10", to infinity. This prevents shorter competitors from attempting to shoot under walls and taller competitors from shooting over them, both of which have proven unsafe in the past. When designing stages, always ask: Where are those bullets really going?
BRACING AND STRUCTURAL INTEGRITY
Any prop that competitors move around must be properly braced and supported. When I build a wall, I assume that at some point, a competitor may stumble and fall into it. If the wall cannot withstand that impact, two problems arise:
Safety: A collapsing prop can injure the competitor and compromise safe muzzle direction.
Match Flow: Major reconstruction during a match is rarely feasible and can severely disrupt the schedule.
Spending extra time bracing walls and props properly is far easier than trying to fix them mid-match.
AVOIDING TRIP HAZARDS
Bracing must also be done intelligently. Any brace near a competitor or Range Officer’s (RO) path cannot become a trip hazard. I once saw a competitor suffer a serious fall after tripping over a 45-degree door brace placed directly in a travel path.
Low braces, knee-knockers and doorjambs must be addressed. Either steer competitors away from these hazards or clearly mark them so they are obvious during movement.
MANAGING BULLET IMPACT
Bullet impact management could fill an entire book. One common issue is poor use of available bay depth. Clubs sometimes set stages deep in a 50-yard bay, with targets placed high. Rounds pass cleanly through targets, strike the ground and ricochet out of the bay.
All impacts should be directed into the backstop or the lower half of side berms whenever possible. If low-angle impacts are unavoidable, use bullet traps such as sandbags, piled dirt, old carpet or other materials to prevent rounds from exiting the range.
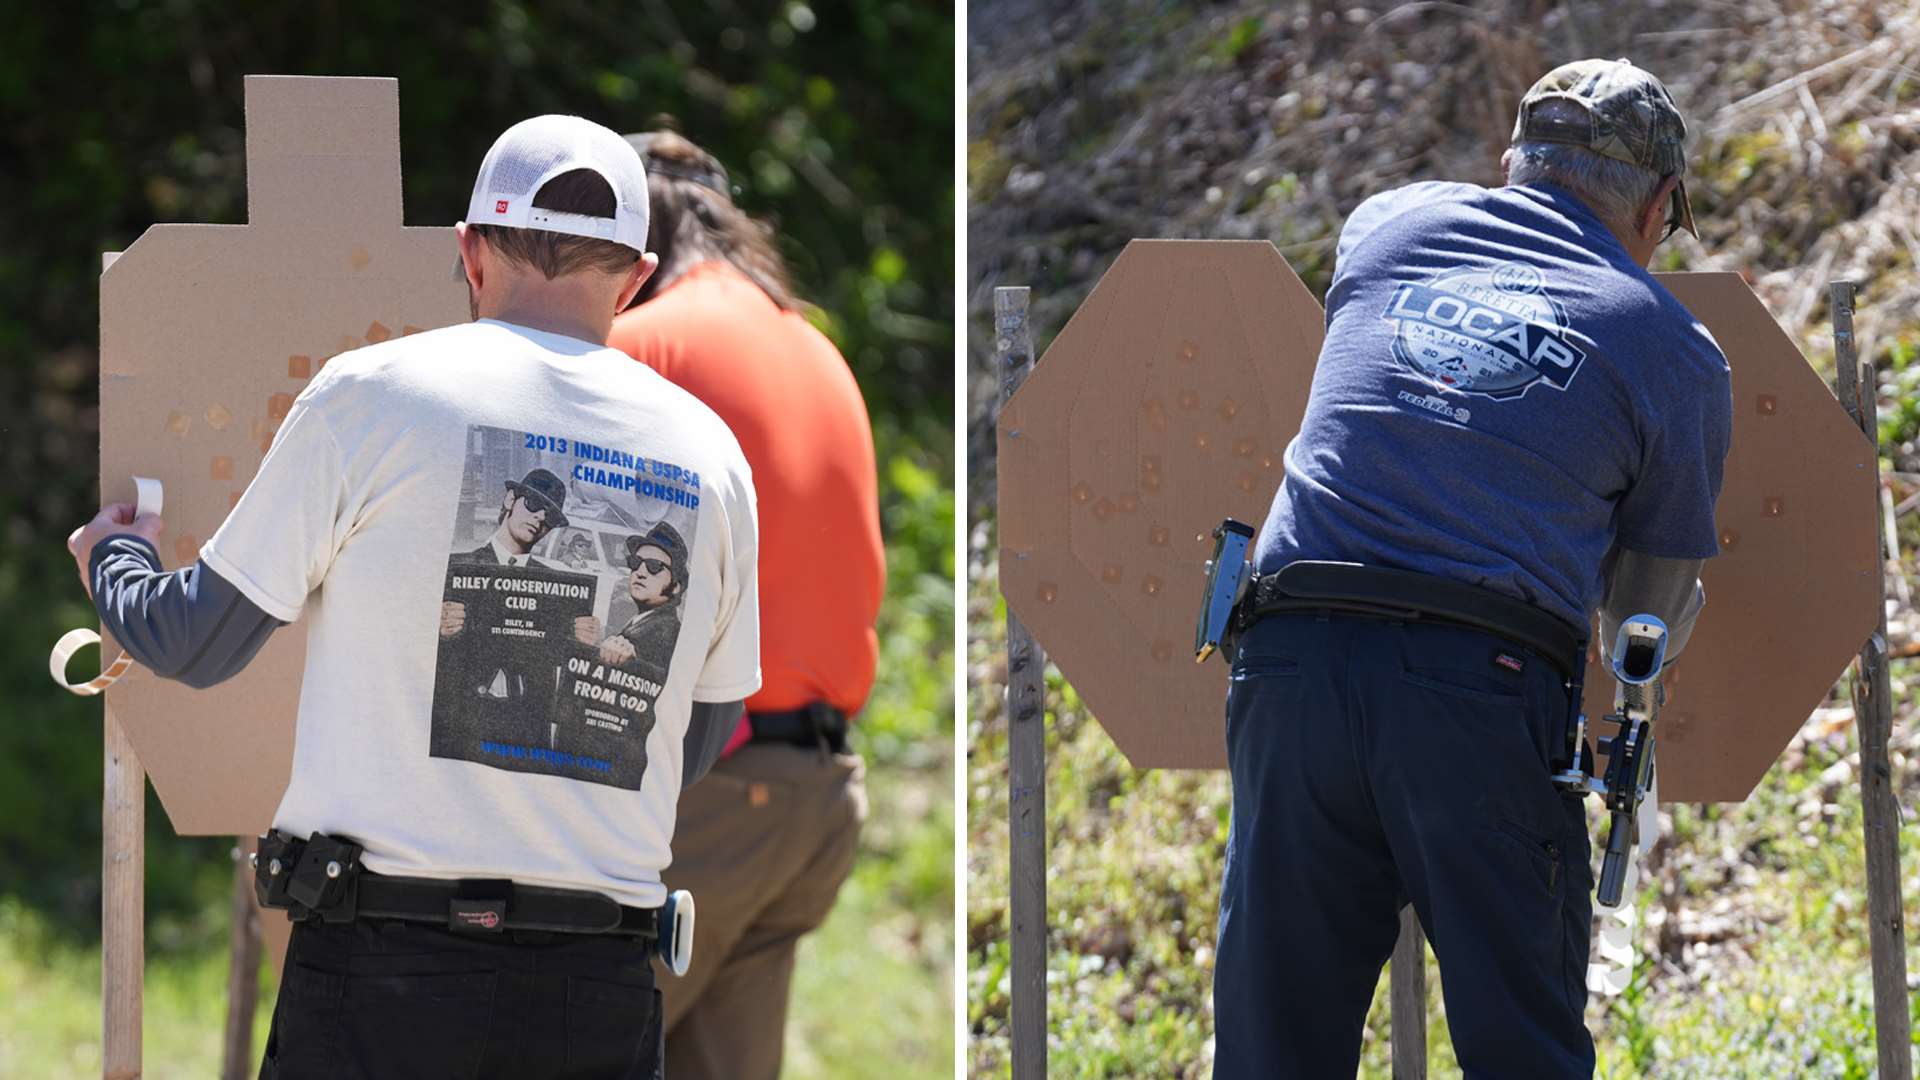
STEEL TARGETS: BENEFITS AND PITFALLS
Steel is a core part of our sport—full-size poppers, mini poppers, plates, metal no-shoots and hard cover all add challenge and excitement. However, steel must be set up correctly. Most problems fall into three categories:
1. Improper Angle
Steel targets should be as square as possible to the shooter from the engagement position. If the angle must vary due to stage design, err on the side of keeping the steel parallel to the backstop. Steel set perpendicular to the berm can result in dangerous splatter toward shooters, staff and spectators.
2. Unstable or Poorly Anchored Poppers
Poppers placed on slopes or soft ground are often unstable, prone to calibration issues or at risk of being blown over by wind. The best solution is to level the popper and anchor it using landscaping spikes, sandbags or both. The extra effort up-front prevents constant adjustments during the match.
3. Rocking Poppers
Rocking occurs when tires or sandbags are placed too close to the popper. When the popper falls, its momentum causes it to rebound, pulling the base loose no matter how well it is anchored.
The solution is proper spacing. Place the tire or sandbag so the top of the popper hits it and stops with no bounce. If there is any movement, adjust until the popper drops cleanly and stays put.
CLOSING THOUGHTS
This article provides a foundation for building stages that are truly bulletproof. The next installment will focus on the placement and setup of activated targets, proper use of cable and chain, the use of armor plating to protect targets and other lessons learned over nearly 30 years of experience.
The final article will address how to run a stage efficiently and make it enjoyable for both range officers and competitors. Most of what I have learned came from my own mistakes—I hope these insights help you avoid making the same ones.
See you on the range.
Article from the March/April 2026 issue of USPSA’s magazine.
Most Popular